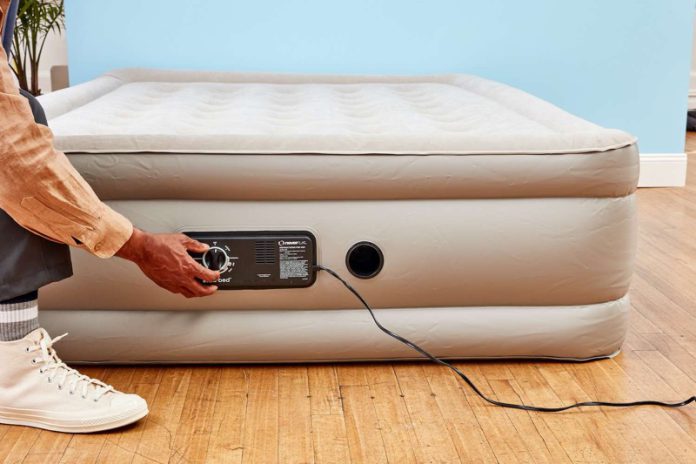
Air mattresses are incredibly convenient for guests, camping trips, and impromptu sleepovers. However, discovering a leak in your air mattress can quickly deflate your comfort.
In this guide, we’ll walk you through the step-by-step process of patching a hole in an air mattress. Following these instructions, you’ll be back to enjoying a sound sleep in no time.
Understanding the Problem:
Before diving into the patching process, it’s essential to understand why air mattresses develop holes.
Common causes include sharp objects, friction, and general wear and tear. finding the location of the hole in the air mattress is crucial for successful patching.
Materials You’ll Need:
- Patch Kit: Most air mattresses come with a repair kit containing adhesive patches.
- Rubbing Alcohol: Used to clean the area around the hole for optimal adhesion.
- Fine Sandpaper: Helps prepare the surface for the patch.
- Marker or Chalk: Used to mark the hole’s location.
- Clean Cloth: For wiping away debris.
- Scissors: To trim the patch to the required size.
Step-by-Step Guide: How to Patch a Hole in an Air Mattress:
Follow these steps to effectively repair the hole in your air mattress and restore its functionality:
Step 1: Locate the Hole
In this section, you need to Inflate the air mattress to identify the area where the hole is located.
You can put the air mattress under the water to inspect the bubble. You can mark the hole’s location using a marker or chalk.
Step 2: Clean the Area
You can dampen a clean cloth with rubbing alcohol and gently clean the area around the hole. Allow the alcohol to evaporate fully before proceeding.
Step 3: Prepare the Surface
Use fine sandpaper to gently roughen the area around the hole. This promotes better adhesion. Meanwhile, you can wipe away any sanding debris with a clean cloth.
Step 4: Apply the Patch
Depending on your repair kit’s instructions, apply the adhesive to the patch or directly onto the hole area.
You need to carefully press the patch over the hole and smooth out any wrinkles or air bubbles. Apply even pressure for a few minutes to ensure a secure bond.
Step 5: Allow Time for Curing
Check the manufacturer’s guidelines for the recommended curing time. Typically, it’s around 24 hours.
During this time, keep the mattress in a dry, flat, and well-ventilated area.
Step 6: Test the Patch
Inflate the mattress and listen for any escaping air. Gently press and apply pressure around the patched area to ensure there are no leaks.
Tips and Precautions you should know
- If you can’t locate the hole by inflating the mattress, you can try the soapy water test. Mix water with a small amount of dish soap, apply it to the mattress, and watch for bubbles forming where the air escapes.
- Always follow the instructions provided in your repair kit for the best results.
- Keep sharp objects away from your air mattress to prevent future punctures.
Conclusion:
Patching a hole in an air mattress might seem like a daunting task, but armed with the right tools and a bit of patience, it’s a straightforward process. You can easily repair your air mattress and extend its lifespan.
The next time you’re faced with a deflated mattress, remember these simple instructions to restore your sleeping haven to its former comfort.


