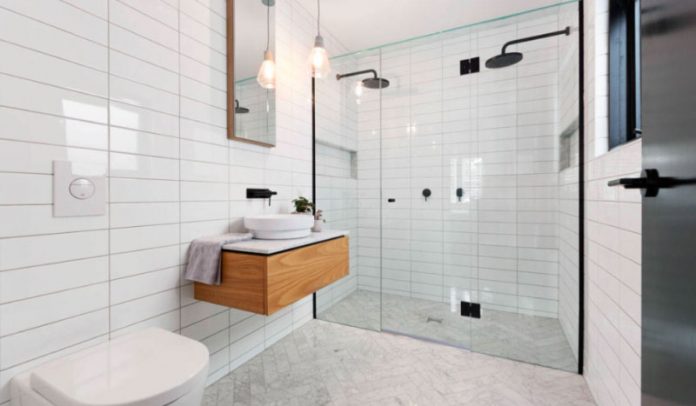
Is your bathroom not getting dry as much as you want? Is the air bathroom air filled with moisture and deteriorating the bathroom paint and fabrics? Well, in such cases the best thing to do is attach a bathroom fan. A bathroom exhaust fan will help to keep the moisture at bay and will also expel the excess moisture and foul odour transforming your bathroom completely.
A common misunderstanding among people is that if there’s ventilation in the bathroom, then there’s no requirement for an exhaust fan. But that’s not true. Ventilation blows the bathroom air around the house. But exhaust, on the other hand, helps to throw the bathroom air outside. This is important for creating fresh air pressure inside the house so that clean and fresh air from outside can come in.
Therefore, how to install bathroom exhaust fans? Installing a bathroom exhaust fan is one of the easiest home improvement projects that you can undertake in your free time. The majority of work involves you standing on a tall stool or ladder and keeping yourself from falling over! Other than that, the rest is all easy-peasy.
Things to remember before you begin
- Be careful about live electrical wirings.
- Make sure that the electricity to that particular spot is cut off before you start meddling with the wires.
- Wear a respiratory mask and gloves for extra protection.
- Make sure that the bathroom exhaust fan you are about to install is vented out of the house and not to the attic.
Steps on how to install bathroom exhaust fans
1.Locate a power source
The first step to a new electrical attachment is to locate a power source. Depending on the electrical line, you might be able to share the same circuit as the ceiling light. If the building code of your area requires you to dedicate a new circuit to the bathroom fan, then you can just run a new cable from the panel source to the ceiling area.
2.Decide on the air exit point
Air that will be exhausted by the fan should find a way to reach the outdoors. So depending on your bathrooms design and location, you might need to run a duct from the exhaust fan to the roof or the sidewall. Once you have identified the point, attach your round vent and vent caps on the roof or the sidewall.
3.Make an opening for the fan on your ceiling
To fit the fan to your ceiling, you will need to cut out a part of it using a jab saw. Carefully mark the points of screwing for the fan and remove part of the ceiling.
4.Attaching the fan to the joist
The next step would be to attach the bathroom exhaust fan to the hole that you have a cut-out on the ceiling. You might need an assistant here to help with holding the fan while you fix it to the ceiling with screws. Screw the fan securely to the joist. Sometimes, exhaust fans also come with suspension brackets. These come in handy if you are unable to find an attachment point on the joist.
5.Rouring the air towards the exterior
Once the fan is attached to the ceiling, check if the fitting is such that the air will be able to flow outwards. Under no circumstance should the air be let to collect in an inside location like the attic. This might rot your attic or other interior walls.
If the air is not flowing outside, then re-adjust the vent duct as per your requirement.
6.Attach the fan grill
Bathroom exhaust fans often come with a grill. So once you are done installing the fan, you can go ahead and turn on the circuit. Check if the air is flowing correctly into the concerned vent. If yes, then secure the grill around it. This is a safety feature and should not be avoided.
And it’s done! It’s not that hard, is it? Ensure that you keep checking the vent caps from time-to-time. Make sure they are not jammed by anything. Otherwise, the exhaust fan may not work properly. In case you ever need to replace the fan, make sure that you get a similar-sized fan so that you do not need to repeat the steps of cutting out your ceiling or attaching a new vent pipe to fit the size of the new fan.


