
Every décor element has its place – A location where it looks apart and bedroom, bathroom, or closet doors are one of the best places to hang a full-length mirror. This is the best place because it usually has an ample of free space and has no furniture obstructing the view nearby. Wall mirrors are a thing of beauty and serve as the focal point of interior space. Hanging these exquisite mirrors on the corner or in the shadows isn’t the best idea as these exceptional décor elements deserve to rock the center stage.
An elegant wall mirror hanging on a bedroom or a bathroom door not only augments the aesthetic beauty but also plays a key role in creating an illusion of extra space. This is one such chic and trendy décor idea that works perfectly with every traditionalistic and contemporary décor theme. The best part is that you can hang these exceptional mirrors on the door by yourself, making this exquisite décor idea become a cool DIY project.

Tools and Materials Required for the DIY Project
Hanging a arch wall mirror on a wooden door requires precision and some basic tools and materials are essential to achieve the required level of precision. These aren’t special or expensive tools but are tools commonly available in your home and can be bought from any general hardware store nearby. The following is the list of tools and materials you need for this DIY project:
- Mirror Clips
- Mirror Mastic
- Dish Soap and Cloth
- Sandpaper
- Screwdriver
- Hammer
- Anchors
- Carpenter’s Level
- Drill
- Tape Measure
As we are dealing with delicate glass and a wooden door, it is best to have the right set of tools and materials in hand. These tools are essential because you can’t take the risk of damaging the visual beauty of either the mirror or the door.
How to hang a full-length mirror on the wooden door?
Any homeowner can hang a full-length mirror on their wooden door if they have the right set of tools and materials available. This isn’t a tricky process and all it needs is a bit of focus and a bit of patience and precision. With the right tools and materials at the disposal, it is easy to find success in this DIY project. The following are the six basic steps of hanging a full-length wall mirror on a wooden door.
-
Step 01 – Measure and Mark

This step requires only two things, a level and a pencil. The first step is to measure the mirror and draw a faint line near the top and the bottom of the door representing the top and bottom of the mirror. The next step is to repeat the same process for the sides and it is best to use a level for precise measurements. This is one way to mark the mirror position, you can also try holding the mirror at its desired place on the door and outlining the mirror’s edge.
-
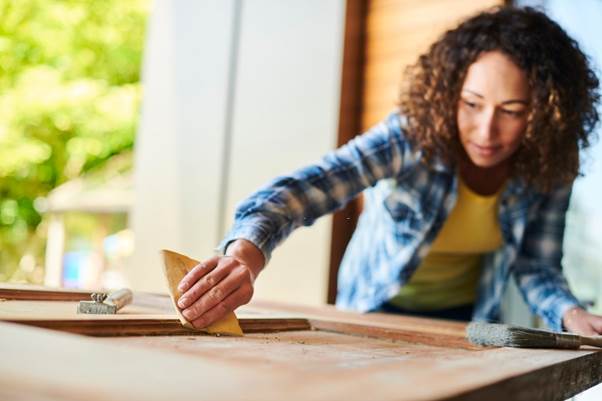
Step 02 – Prepare the Door Surface

The door surface behind the mirror must be cleaned off any dirt or oil as it would hinder the adhesiveness of the mirror mastic. That’s why this step is all about scuffing up the door within the drawn mirror outline. Medium-grit sandpaper is best used for this purpose and you can also clean the door surface with a rag and hot water.
-
Step 03 – Wipe Down The Door Dry
The third step for hanging a full-length mirror on a wooden door is to clean the door surface with a dry cloth. The goal is to remove any sanding dust or moisture as it interferes with the working of mirror mastic. Besides this, too much moisture isn’t good for the mirror and is a cause of mirror blackening.
-
Step 04 – Drilling Pilot Holes and Inserting Anchors
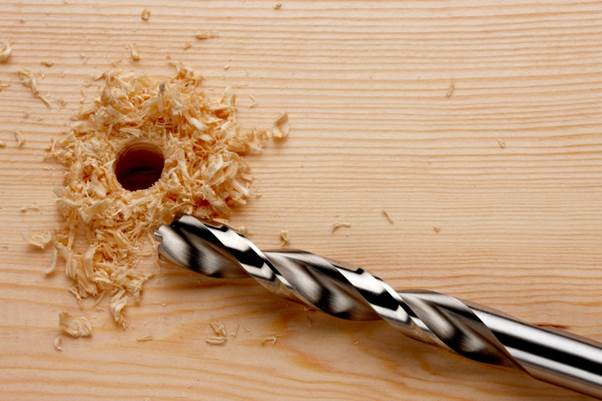
The next step is to drill plot holes for mirror clips. It is best to start from the bottom and a mirror clip must be installed with reference to the mirror outline on the door. The bottom edge of the clip must align with the bottom left outline and then mark the position with a pencil or screw. Drill the mark and place the special wall anchors and repeat the process for the bottom right clip. The same process is used for drilling pilot holes for the top clips. However, the top clips aren’t installed in this stage.
-
Step 05 – Apply Mirror Mastic
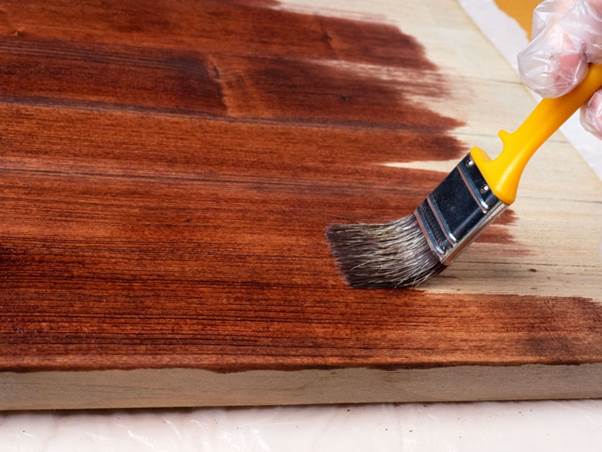
Now, it’s the time to apply the mirror mastic and it is best to follow the manufacturer’s application instruction. Applying the mastic in evenly-spaced globs or S-shape is usually recommended for this purpose. It is best to avoid applying mirror mastic near the edges as the adhesive may ooze out.
-
Step 06 – Place the Mirror
Finally, the full-length mirror is placed on the door by sliding the mirror’s bottom into the bottom clips and then installing the top clips. Tighten all the mirror clips and leave the door in its position for a few hours to let the mirror mastic dry out.


