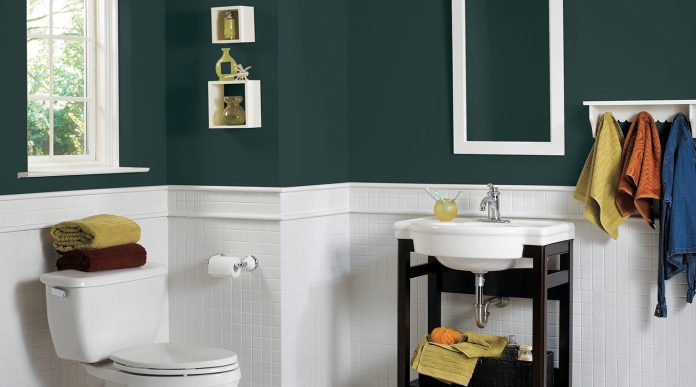
Is it time you gave your bathroom a fresh lick of paint? Whether you’re redecorating a space you’ve had for years or putting your own stamp on a new property, you’ll be surprised by just what a big impact painting can have. If you do a good job, that is…
DIY sales have rocketed in the past year as more and more of us try our hand at home improvements. Painting should be among the easier DIY tasks, but there are still a few tricks to getting it right.
Follow the five steps below to paint your bathroom like a pro.
Invest in quality paint
While the saying goes that a good workman never blames his tools, they’d also never invest in sub-par materials. Quality paint is even more important in the bathroom where moisture levels are high, so choose a highly durable emulsion for the best results.
You’ll also need to work out how much paint you actually need for your space. The last thing you want is to run out halfway through!
Use the right tools
It’s easy to think you’ll just need a paintbrush or two – but there are plenty more items you’ll want to collect before getting started. A paint tray and roller for example will make applying paint far more efficient, while painter’s tape will help to keep your lines crisp.
Sugar soap will come in handy for the next stage, and don’t forget about protective sheets – they’ll make the clean-up operation far easier.
Prepare the area
Preparing your bathroom walls before painting will increase your chances of achieving long-lasting results. You’ll need to thoroughly clean all areas you’re planning to paint by removing traces of damp and mould, reducing the likelihood of it coming back later.
It’s worth priming the surface too as it will add an extra layer of protection in the one room in the house that needs it most.
Cover areas you won’t be painting
This step may seem obvious, but now’s the time to put that tape and sheeting to work. Tape off the ceiling, trim, bathtub, sink backsplash and any other areas you’d prefer not to cover in flecks of paint, then cover the sink, mirror and flooring too.
Add a second coat
It can be tempting to walk away after the first coat and call it a day. But once it’s dried for at least two hours, or possibly more if the room is particularly cold or damp, it’s vital that you repeat the process.
All that’s left then is to remove your tape, dispose of the sheets and enjoy your new sanctuary!


