Finding a leak in your toilet can be daunting and alarming, especially if you’re alone and have no one to help. While you can easily call a plumber for a professional fix, knowing how to do the job yourself can come in handy in desperate situations. Moreover, the cause of a leaking is usually simple to locate and repair, even for a beginner.
This article explains a cost-effective way to fix a leaking toilet in under an hour to get everything up and running again and stop water damage. So how about learning a thing or two skills while saving money? Check out this resource: https://lifehacker.com/ for a better understanding of water damage.
Safety First
Before you get to work, ensure you check the source of the leak. It may be from the tank or the base. Whichever it is, you’ll need to protect yourself while working. The first thing to do is to put on work gloves. The leaking water isn’t clean and touching it with bare hands is dangerous.
What You May Need
The following are a few items you may need to get the job done if you plan to fix the toilet yourself:
- Towels
- Putty knife
- Bucket
- Adjustable wrench
- Pliers
- Silicone or wax seal
- Tank-to-bowl gasket
- Drip Tray for the tank
- Plastic nuts and bolts for the tank
Ensure the gloves are not too thick as to prevent you from easily working and they must not be too light to allow moisture to leak in or tools to puncture them. After repairing the damage to the toilet, use a cleaning and disinfecting agent to wash the tools, gloves and floor before putting anything away. You can find reasons to clean and sanitize as often as possible here.

Fixing a Loose Toilet
One of the commonest reasons for a leaking toilet is loose bolts at the base. If your system is old or has never been replaced in years, the bolts tend to get loose with constant usage. This is even more applicable if it’s a single-bathroom household. If this happens, the toilet moves when in use, making it easy for water to seep out from the base.
What you can do is to try rocking the bowl gently with your hand to see if it moves. The bowl should be rock-solid and fixed to the floor so if it moves, that may be the problem. The first step is to remove the caps on the floor bolts. They can easily twist off if you use your hands but if not, use a screwdriver or nail file to gently loosen them.
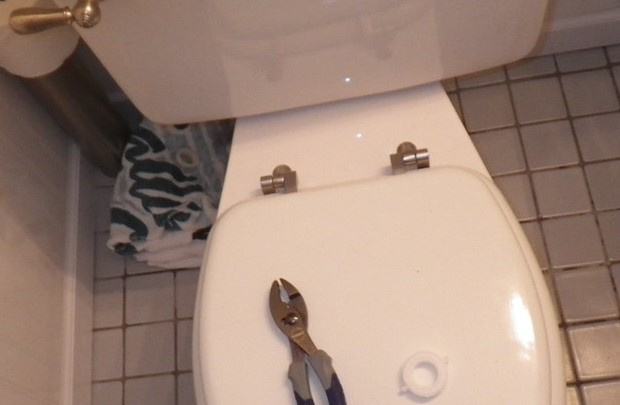
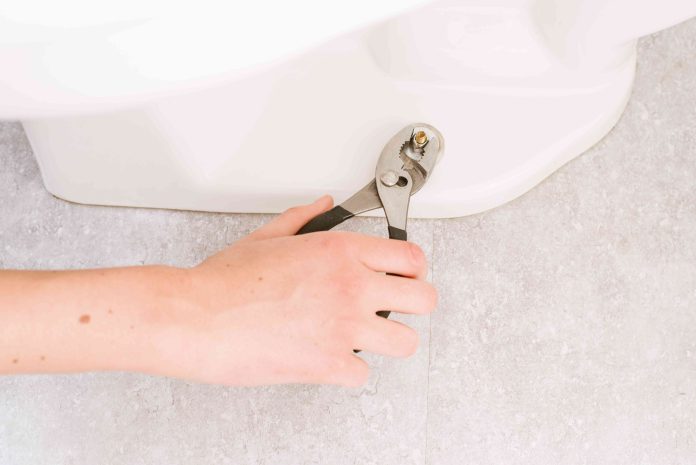
Once they come off, use a pair of pliers to grip the bolt on one side, turn them to the right or clockwise and tighten them to the toilet’s base. There are usually two bolts at the base – one on the left and the other on the right – so repeat the same process on the second one.
Once done, try rocking the bowl again to see if it moves. If you do it correctly, the bowl shouldn’t wiggle at all. And if that is the case, put the bolt caps back in place and you’re done.
Fixing a Loose Tank
Sometimes, a loose toilet tank is the source of the leakage and a loose gasket or rusted bolts may cause this. With years of use, the bolts may come loose or become covered in rust, depending on the type.
Other times, the gasket becomes faulty, causing water to leak from the gap created by the weak gasket. Take a few minutes to monitor the toilet to see where the leak seems to come from. If it’s not the base, then the tank may be the culprit. Once determined, inspect the bolts for looseness or rust.
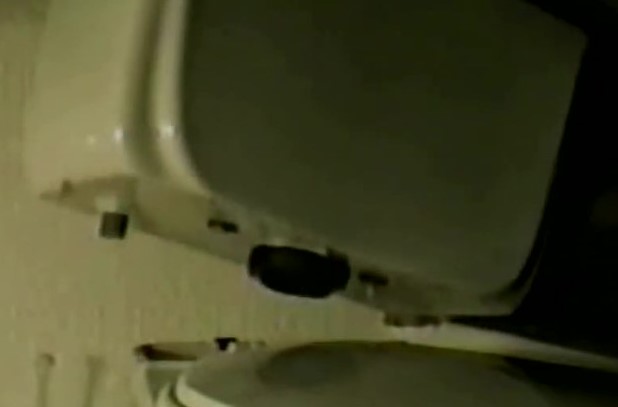
Look under the tank and you’ll find two plastic nuts covering the bolts that hold the tank to the bowl and vice versa; remove the nuts and inspect the bolts. If covered in rust, they will need replacements, which will require professional attention from experts like First Rate PHC because such bolts usually need to be cut instead of loosened. That isn’t the job of a DIYer and you wouldn’t want to cause more damage to the cistern.
But if rust is not the problem, see if they are loose. Use your adjustable wrench to tighten the bolts and dry the wetness around that area with a towel. Wait a few minutes to monitor the area to see if water leaks again. If it doesn’t, the problem is solved but if it does, you must replace the bowl-to-tank gasket.

However, if the gasket and bolts are in good working condition, you may need to replace the tank.
- Cut the water supply to the toilet and flush it. Then, disconnect the water line from the tank.
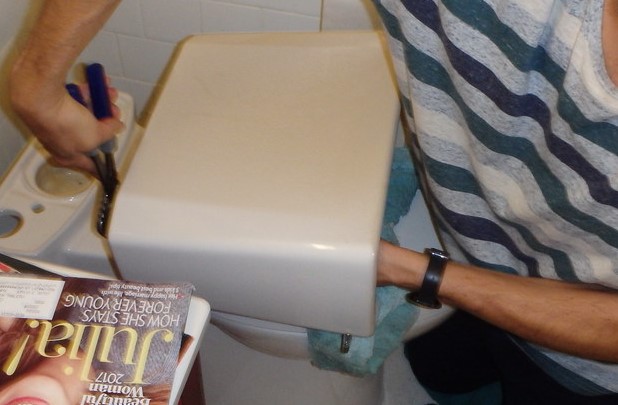
- Undo the plastic nuts under the tank and loosen the bolts to remove them completely. This is a good time to check and replace the gasket if it’s old or you’ve not checked it before now.
- Now, you can lift the old tank from the top of the bowl and set it aside. Put the new tank in its place and ensure it aligns with the two bolt holes at the top of the bowl.
- Put the bolts back in place, tighten them and cover them with the plastic nuts. Ensure everything is tight to prevent leakage in the future.
- Reconnect the water line to the tank and turn on the water supply. Then, allow the tank to fill with water and flush the toilet. Everything should work well if done correctly. Otherwise, you may need professional assistance.
In some cases, you may need to install a drip tray to collect water over time. If none of the above fixes works or you want to prevent moisture on the floor, the drip tray should be fitted between the tank and bowl to collect water from the tank and prevent it from dripping to the floor. It only works for the tank, not for the bowl.
You can check out this resource: https://www.doityourself.com/ to understand why a toilet starts leaking.
Conclusion
You can find an easy solution to a leaking toilet without calling for help, especially if you’re a seasoned DIYer. The steps we’ve outlined in this article will get the cistern working again without breaking the bank. However, you’ll need a plumber if you cannot do the job yourself or would prefer not to do it at all. You’ll get the best results that way.


