
Let’s start with the facts: painting kitchen cabinets is a big job. Anyone who claims that cabinet painting is a weekend project either hired a professional or doesn’t know what a kitchen is. That said, a fresh coat of paint can be an economical way to transform your space. So is it worth the time and effort?
Absolutely! The trick to tackling this project is to go step by step and take your time. You want your work to look like you hired an expert, not like a DIY Pinterest fail. Keep reading for a a step-by-step process you can use to give your cabinets a professional upgrade and dramatically improve your kitchen on a budget.
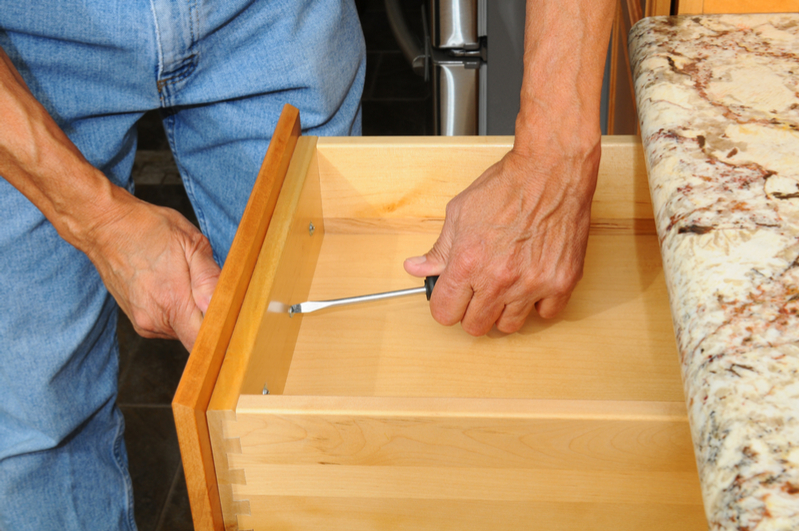
Remove Cabinet Doors, Drawers, and Hardware
To get started you’re going to need to remove all cabinet doors and drawers and then the hardware from each door and drawer. Removing pulls and handles can make painting a lot faster and also reduces the risk of getting paint on the handles. When it comes to hinges and other things that may be too difficult to take off, use painters tape to cover up as much as you can.
We recommend taking your cabinet doors and drawers outside. Getting a large chunk of the painting done in the open air is optimal, although you will need to be aware of the weather conditions – obviously, you won’t paint in the rain, and you should not paint if it is too hot or too cold for the paint to cure (consult the paint can instructions) or if it is too windy (debris sticking to your paint!). Again, this is not a weekend project, so make sure that your cabinet doors and drawers will be sheltered from inclement weather when you take a break.
Clean and Prep Your Cabinets
When working with laminate cabinets it is important to use a cleaner specific to laminate products. Here is where your patience will come into play. Cleaning can seem like a tedious step, but in order to get the best finish on your cabinets, they need to be free from grease and dust. Kitchen cabinets take a lot of abuse from knicks and dings to spilled liquids and stand mixer mishaps. So it’s important to get them scrubbed and ready for their fresh new look.
Washing your cabinets not only gets them cleaner, but it also gives you a chance to take a closer look at your cabinets. When scrubbing them with a laminate cleaner be aware of the condition of your cabinets. If you notice any damaged or warped laminate, do not paint over it. Deep scratches or warped doors will not be fixed with a coat of paint. Evaluate each piece to see what can be repaired and what may need to be replaced.
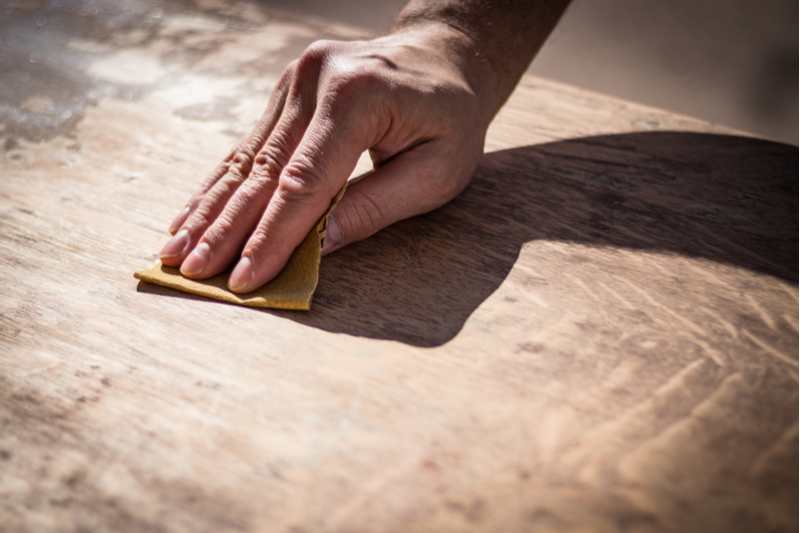
Sanding Your Cabinet Exteriors
At this point in the process, you’ve taken the time to remove all the doors, drawers, and hardware, tape over hinges, clean surfaces and evaluate the condition of your cabinets. Now comes sanding. If you’re sticking to a budget and looking to get in a full upper body workout, you’ll want to get started using 120-grit sandpaper.
But if you’re staring at a backyard full of cabinet doors and starting to reconsider your life choices, fear not! A motorized orbital sander could make your life a lot easier. If you’re not in the market to purchase one, consider renting from a home improvement store.
Once you have your sandpaper, start roughing up those slick laminate cabinet doors. You want to apply enough pressure to get a good amount of dust from the laminate. But be careful not to overdo it or you could rip through the coating. Don’t forget to wipe away the dust and residue with a damp cloth when you’ve finished up.
Picking and Applying The Right Primer
Once you’ve gotten a nice rough surface to work with you can paint on the primer. Make sure to pick a primer that will work with laminate, specifically, you’ll want to look for a bonding primer. Once the primer has finished drying, top it off with an oil or latex based paint.
You may also want to go back over the primer very gently with fine grit sandpaper if you see any places where the paint may be raised. Again, use a damp cloth to remove any dust after sanding.
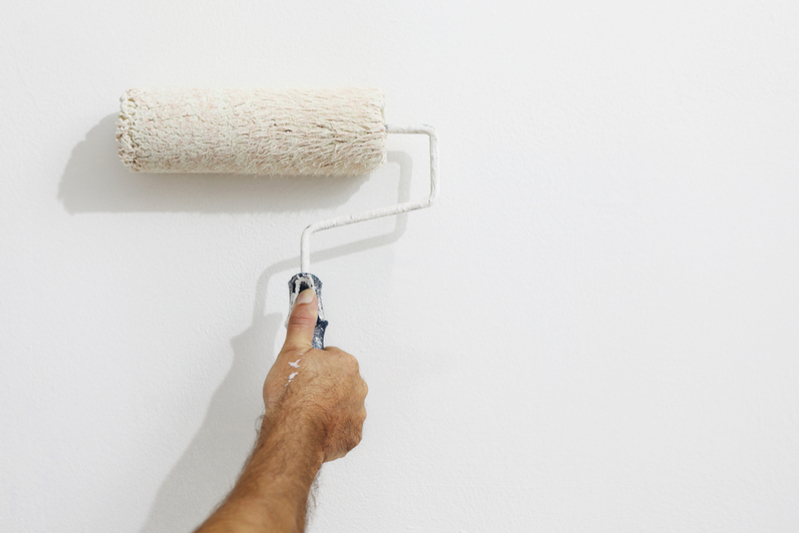
You’re Ready To Paint. Almost.
Finally, it’s time to apply to topcoat. When you’re ready to start painting, make sure that you have the right tools first. Topcoats should be applied with a roller, paint pad or sprayer to make sure that you’re not leaving any brushstrokes through your cabinet faces.
If you have any dings or scratches in your doors, you may want to work with a paint that has a satin finish rather than a full gloss finish. This will help minimize scrapes.
Go The Extra Mile And Apply A Sealant
At this point, you may be ready to call it quits but you’ve come so far, why not go the extra step? A sealant can help keep all the hard work you’ve just done last for years to come. With the daily abuse that kitchen cabinets take, a sealant can make a world of difference in their longevity.

Hire A Professional Or DIY?
If the idea of spending a week or more without a kitchen sounds neither economical nor enjoyable, consider hiring a professional. It’s likely that you will use your kitchen daily, and you don’t want reminders of a project poorly finished. This project is definitely DIY-doable for someone with patience, but before taking the DIY plunge, ask yourself if you’d rather spend your time on other things, such as choosing a new kitchen faucet, or changing your kitchen lighting, or even selecting a beautiful new kitchen rug to go with your “new” cabinets. Pizzazz Painting has refreshed the kitchens and other rooms of South Jersey homeowners for over 20 years. Contact us today to schedule your free professional color consultation. No job is too big or too small!


