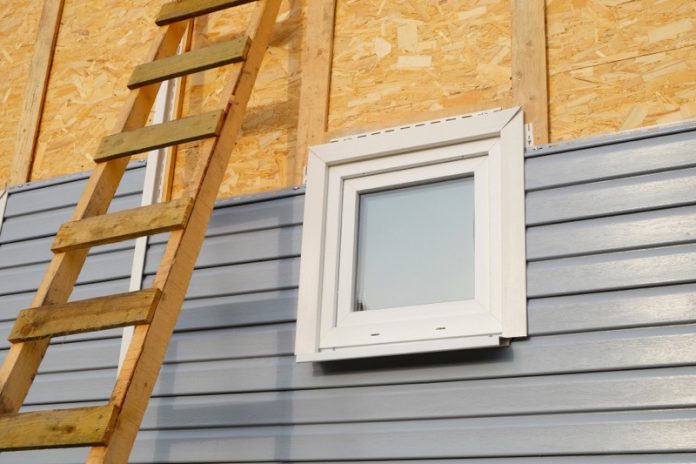
J-channel goes around doors, windows, eaves, corners and where siding meets a soffit for vinyl siding projects. The goal is to have water run down the sides of the channel and away from the house. When installed improperly J-channel allows water to run into the house, which can be extremely hazardous to the home’s structure.
You’ll need rain tabs or notches in the J-channel. Get information on when to use each of these water damage prevention methods in this how-to article.
What You Need to Know about Installing J-channel
J-channel can add a nice touch to your home to make vinyl siding look smooth and clean. You can use J-channel as an opportunity to add an accent color to your home or you can match it to your vinyl siding color.
You can install J-channel as part of a new siding project or replace it on the existing siding. Installing J-channel under the existing siding is simple and only takes a few steps. You have two options for how you install J-channel on the existing siding where you can do it by removing the siding or leave the siding in place.
Preventing water damage is the most important consideration for installing J-channel. Proper installation and planning will ensure that your J-channel moves water away from your home instead of toward it.

8 Steps to Install J-channel in CertainTeed Vinyl Siding
Installing J-channel and preventing water damage is not hard if you follow proper protocols and steps. Here’s an easy step-by-step description of how to do this. But if you need more information, watch this YouTube video: Installing J Channel for CertainTeed Vinyl Siding.
- Cut each length of J-channel 2 inches longer than the window or door you’ll be placing it around.
- For the bottom J-channel, cut 1 inch off the bottom of either side of your pieces.
- Install the bottom piece of the J-channel under your window or door.
- For the side J-channel pieces, miter the face and cut a rain tab.
- Install the J-channel pieces.
- For the top piece, notch out one inch from the sides of the J-channel.
- Cut a rain tab on each end of the top piece of your J-channel.
- Install the top piece of the J-channel.
When installing J-channel, ensure that you leave a gap for expansion and contraction of the materials as the temperature changes. This is an essential element of all vinyl siding projects.
When making these cuts to allow water to flow away from the siding, you can use snips. These will provide clean edges and precision cuts. These hand tools are ideal because they allow you to mark off the areas to cut and trim these areas with ease. Using a saw for these trims would be extremely challenging
With the right steps and quality materials, you’ll be able to prevent water damage from infiltrating the home while making the exterior look great. Follow the above 8 steps closely and you’ll have beautifully installed J-channel that avoids water issues.


