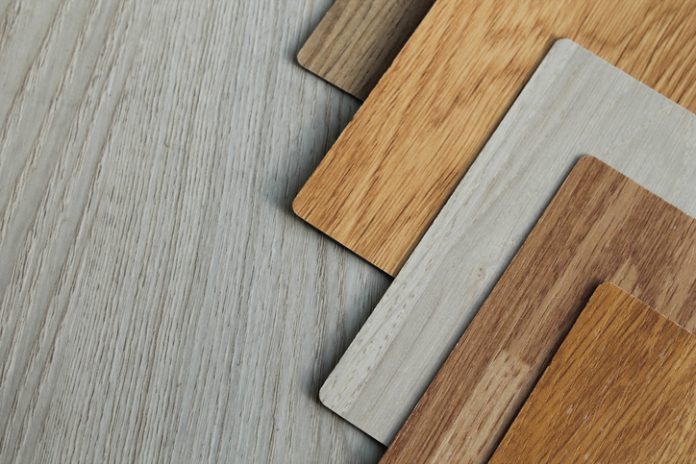
Choosing which type of flooring to use in your home is one of the most challenging decisions to make. Since the floor covers all interior areas, it is crucial to install the one that completes and complements your home’s aesthetics. Some of the most common floorings are carpet, tiles, and wood. In modern houses, hardwood flooring has a design that can give natural charm to your homes, adds a unique personality, and provides versatility. Additionally, home building professionals recommend hardwood floors due to their innate ability to be a dependable and durable flooring option for your home.
Materials from these floor pieces use a denser and more durable wood, which means it can last for years with less maintenance. Though the durability of the wood differs from where it is made, all hardwood floors are rated through Wood Hardness Rating Scale.
If you are considering installing hardwood floors for your home, there are a lot of choices that vary from finishing, types, patterns, and width.
How to Install Hardwood Floors
Installation of the planks depends on the construction, thickness, and surface to where they will be installed, and you may need different tools and materials. However, most planks are made with tongue-and-groove edges which attach them. Here is a step-by-step guide on how you can install hardwood floors:
Determine the Right Procedure
Since the installation depends on the subfloor, there are different procedures for laying out the planks. If your subfloor is wood, you will need to nail or staple the planks to install them. If your subfloor is cement, the hardwood floor needs to be glued. However, flooring adhesives have different chemicals that may harm your family’s health.
The easiest process is the click-together snaps, where you lock each plank to the grooves on the edges. If you are planning on DIY, this is the best option.
Measure The Area
Once you have decided on the method, start measuring the length and width of the area to know how many hardwood floors you will need. But it is recommended to have an additional 10% on the actual measurement in case you mistakenly cut the planks or need to cover irregular spaces.
Acclimate
Now that you have your hardwood floors let them adapt to the room’s climate and adjust their moisture content by removing it from the packaging and letting them sit around in the installation area for several days.
Prepare Your Subfloor and Tools Needed
If your existing subfloor is uneven, fix it first. Make sure the subfloor is clean, dry, and strong enough if the subfloor is made of plywood. If your new planks do not have an underlayment, you need to purchase one before installing it.
You will need to prepare a mitre saw for long pieces, a table saw for rip cuts, protective gear, a moisture testing device if you will install it on concrete floors, and a nail or staple gun if you will install it on an existing wood flooring.
An existing concrete floor should have less than 3% of moisture content, while wood subfloors should have less than 12%. You may also test the air humidity using a hygrometer, which should be between 45-65% only.
Install the Hardwood Flooring
Roll out the underlayer – if the plank does not have one. Remember to place spacers on the gap between walls and floors to allow the wood to expand from humidity. Lay the planks parallel to each other, starting from one side of the room. Then read the manufacturer’s guide if you are using the click-together type of floor pieces.
If you are nailing the floor pieces, drill pilot holes before nailing them completely. If you are nearly finished, trace, fit, and cut the excess pieces to the contoured area of the room.
Apply Finishing Touches
The finishing touches will determine the final appearance of your flooring. Remove the spacers and reattach the baseboards to the walls of the room.
Most hardwood floor manufacturers provide a warranty. Make sure to install the planks properly according to the manufacturer’s guide; otherwise, your warranty can be voided. Specific preparations such as subfloor fixing and following the allowable moisture content will prevent your planks from getting damaged easily.
Conclusion
Proper installation is not the only key to keeping your hardwood flooring of the best quality after years. Perpetual cleaning and maintenance should also be considered to keep them in good condition.
