Instead of buying a new home or building one from the ground up, adding home renovations are a great option. Not only will you save money, but deciding to add additions to your home will add value to it.
When you make home renovations to your existing house you can create a custom home that perfectly suits your family’s wants and needs. A simple house bump can be an effective solution to a nice addition to your home at a fraction of the cost of buying a new one.
If all you’re looking for is an additional room or an extension on your existing home, a house bump is perfect for your home renovations. I know what you’re thinking.
What Exactly Is A House Bump Out?
House bump-outs are extra spaces, much smaller than adding an entire room, to increase the size of your existing room. Some of our clients have taken this option from the list of our services.
The customer has a pretty sizable living room. All they want is a little more space to add a pool table, a desk, or maybe even another climate-controlled lounging area for another sofa, perfect for dinner parties and gatherings.
A house bump out is all they are looking for.
When Should You Add A Bump Out?
Bump-outs are exterior construction projects that can be built during any weather condition. Most of the work is done without breaking the insulation of your home. Once the room is built and insulated, the workers can then knock down any existing walls to connect the addon to the home.
It’s important to note that a section of the home may need to remain open, but only for a short while. You can minimize how much time this takes with the right skilled crew.
However, these inconvenient times may vary depending on whether or not you’re having work done during popular building seasons. When in peak building season, you’re going to have to compete with other contractors’ queues.
Here’s How You To Build Bump Outs
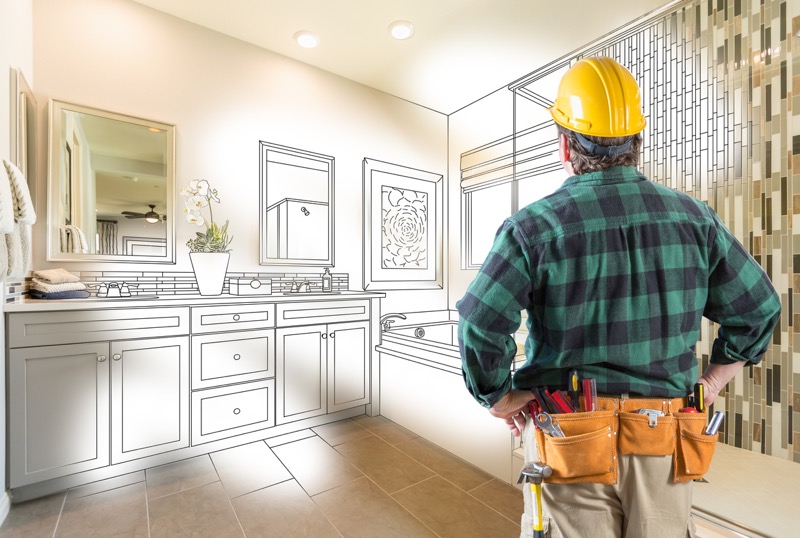
1) Examine Where The Bump Out Will Be Built
As a rule of thumb, you’ll want to add a bump-out addition only to one room. This will keep you from having to consider major structural modifications that can cost you a ton. Most of our clients prefer us to build bump-outs on the ground floor for this very reason.
They sit on the ground floor, as the name suggests, or they can be cantilevered. If you ever wanted to build a bump-out on the upper level, you’ll need to consider how to support all of the weight from the ground floor.
2) Build A Plan
Talk to your architect and discuss the best strategies for building a bump-out, TaylorMade for your home. Remember, the house still needs to open up into the bump-out area, so you’ll need to talk this over with your builder.
3) Get Your Permits
Believe it or not, laws do matter in this country and it’s no different for home renovations on your own house. You’ll need to apply for the appropriate building permits for any work to be legally rendered.
4) Build Temp Supports Walls
You’ll have to secure the foundation by building temporary wall studs along the exterior wall. This will ensure that the ceiling and upper floors will be properly secured before you begin building the bump-out.
5) Build A Foundation
Use a hand shovel or other digging tool to dig up a small ditch of about 36 inches, no more than 42 inches. Then place concrete blocks inside, or use poured concrete, stack them and mortar them into position. If the poured concrete option is used, you’ll need wedged wooden forms inside first.
6) Open Up A Wall
Shut off the electrical circuits before dismantling the drywall. That will expose the studs. Then place sheets of plywood in place temporarily to cover up the opening. Next, you’re going to remove the wirings and plumbing so that you can rewire them around the area where you’re building the bump-out.
After you’ve done that, you’ll want to place doubled-up two by eights where the wall used to be. Or you can install a two-by-eight LVL laminated wood.
