With numerous home improvement projects that you can take part in, from backyard landscaping to home office setup, you may end up overlooking some basic ways to improve the value of your property, such as painting your home’s interior.
Reasons to get a new interior paint job
Adding a new splash of color in your home can make a huge difference in your quality of life. While interior painting is a less expensive do-it-yourself (DIY) improvement in your home, it actually presents the highest return on investment, peaking at 107%.
Moreover, paint is a simple yet transformative way to enhance any room. With the right choice of paint, you can turn your restrictive space into a larger one, or make a spacious room smaller. The effective application of color psychology to paint colors can also affect the mood of occupants staying in the room.
In light of these facts, here are five key tips to accomplish your interior paint job like a pro:
1. Get the best painting supplies
The perfect paint job contains two elements: using the right painting materials and technique. Although interior painting is cheaper than other home improvement projects, it’s not an excuse to be cheap with your paint and painting supplies, as the quality of these materials can impact your final result.
As fresh, updated painting supplies hit the market every year, you’ll want to get your hands on the best ones you can afford. First things first, choosing the right wall paint is the most significant choice to make in this project. Ideally, latex paint is preferable to oil-based paint, thanks to its long-lasting durability, ease of cleanup, fade resistance, and the fact that it’s less likely to blister.
Also, don’t forget to purchase these essential painting supplies:
- Natural or synthetic brushes
- Foam brushes and rollers
- Paint rollers
- Pad painters
- Tinted primer
- Painter’s blue tape
- Drop cloths.
2. Prepare your workplace
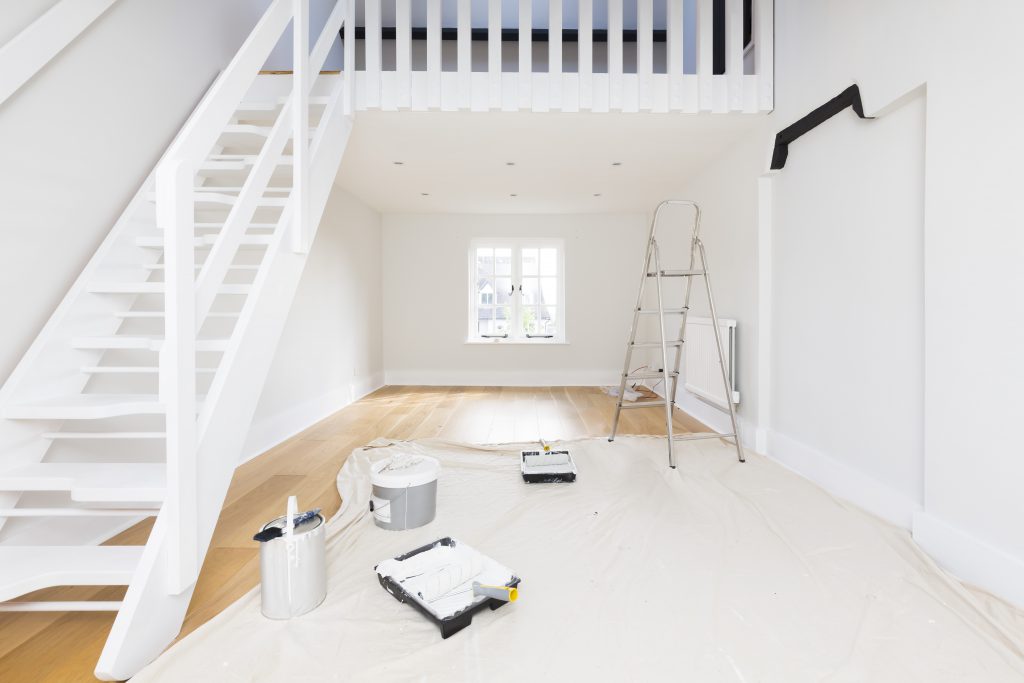
Painting is undoubtedly a messy task. You wouldn’t want your household items to get smeared with paint if you can keep it from happening. First, remove any fixtures attached to the wall, such as shelves, picture frames, hanging plants, and the like.
Next, if you have a lot furniture and appliances inside the room, you can opt to place them at the center of the room and cover them with large plastic sheets, instead of taking everything out. Make sure the plastic sheets are taped at the bottom to keep your items protected from dust and paint.
Furthermore, protect your flooring from paint drips and splatters by laying out thick canvas drop cloths across the entire room. Stay away from old bed sheets and plastic sheeting as paint can still penetrate through these materials.
3. Ensure a clean canvas
Before adding any paint product to your chosen surfaces, make sure they’re free of any form of dirt first. Paint doesn’t adhere properly in walls with dust, grease, and stain, and will only end up patchy and uneven once applied with paint.
To clean your surfaces prior to painting, use a degreaser or de-glosser to dissolve the grease and grime, allowing better paint adhesion. Follow the product’s instructions carefully and wear eye protection and protective gloves as degreasers are a potent product.
Aside from ensuring a dirt- and stain-free surface, you should also make sure it’s void of any texture flaws as these will look noticeable once painted. Take a look at this guide to prepare your walls before painting.

4. “Box” your paint
Painting your walls, ceiling, or floor uses up a large volume of paint. Unfortunately, paint cans of the same color have small variations in their actual color, and most of the time, these pigments rarely match. You may notice these slight differences once you’re halfway through painting a wall.
The solution? Use the painting technique called “boxing” the paint cans. Basically, you’ll need to pour the contents of all your paint cans into one large bucket and mix them altogether to create a consistent color.
5. Paint professionally
Now comes the most difficult part of your project—painting the surfaces evenly. Start with the trims first as it’s much easier to tape them off after the paint dries. Then, work on the ceiling and walls.
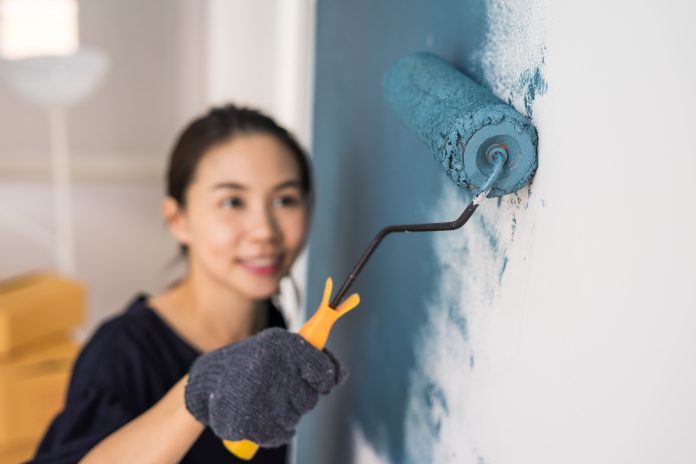
Since ceilings and walls can be vast surfaces, patience and consistency are a must. Focus on one wall at a time and get an even coat before adding another layer. When using the paint rollers, always keep a wet edge to prevent making overlapping marks that are common in semi-gloss and glossy paint.
Takeaways
Many homeowners are mistaken that home interior painting is an easy project where all you do is get a brush, dip it in paint, and splash colors on the wall. It actually requires more planning, preparation, and proper technique to pull the job off and achieve your desired results. So, keep these tips in mind and take the time you need to get the job done right.


