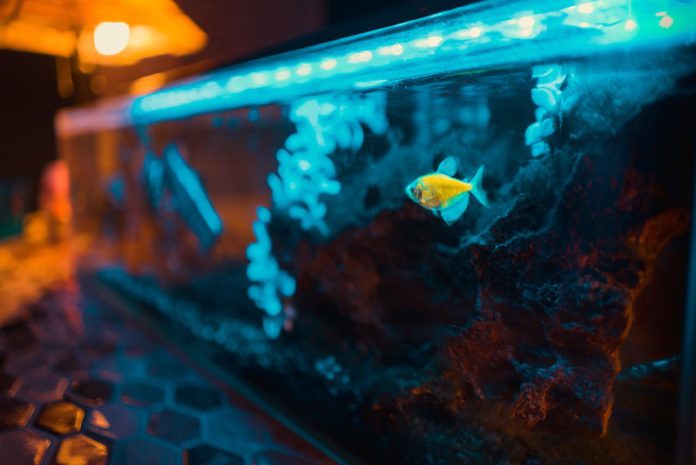
An aquarium might be the best stress reliever during this pandemic season. Most people consider this as an excellent product for their kids. In addition, fishes can provide happiness to their owner when they multiply. Thus, an aquarium also requires excellent maintenance to maintain its good condition. The Kings of the Aquarium gives us some information about the equipment that might be ideal for your tanks.
This information includes a Homemade Aquarium Canister Filter. It is an outstanding tool to make your tanks in good condition for your fish. Also, it can provide great assistance to make your fish pets healthy. It can filter the debris that your fish produces. That is why you also need to make it functional to serve an excellent effort.
For this article, we want to share some details on how you can install your Homemade Aquarium Canister Filter. Plus, the essential thing that you must provide is to align and construct this filter in your aquarium. Therefore, the information below can play a crucial role in achieving the proper usage of your filter. For that reason, keep in touch and read the section below.
What do you need to provide before installation?
First thing first, when making your Homemade Aquarium Canister Filter, you need to provide the following materials;
- 8 x 4 inches diameter of PVC pipe
- 1 to 4 inches diameter of the plug
- 1 to 4 inches diameter of the rubber end cap with a hose clamp
- Two female garden hose repair ends
- Two of half an inch threaded valves
- Four of ¾ inch to half an inch of threaded plastic hose connections
- One male garden hose threaded
- Three PVC grates about one and a half-inch tall
- One ¾ inch 90-degree corner tube with hose ends
- Small hose clamps
- PVC cleaner
- PVC glue
- Teflon tape
- Aquarium silicone
- 20 inches of ¾ inch tubing
- 5 inches of 1-inch tubing
- Three small zip-ties
- Pump
- Filter media:
- Poly sponge
- Knee-high stockings
- Bio-balls
Some tools are essential to make all the parts together. It includes the following;
- Drill
- Small drill bit
- Coping saw
- Utility knife
- ⅞ inch of a spade bit
- Channel-lock pliers
- Tape measure
- Flathead screwdriver
- Needle nose pliers
- Sanding block
- Scissors
Steps for Installing the Filter
This section contains the steps that you need to follow when installing this filter project. It consists of the information below;
Step #1: DRILL HOLES IN PIPES
Providing holes is the first step to insert the screw to put together all the pipes. Then, place a spot and drill from the bottom of the PVC above the rubber end cap. The Small bit is the tool that you must use to make the holes. Then, use a garden hose adapter to screw it perfectly. That way, you can keep the spade centered.
However, be careful to use these tools. Safety first before anything. Also, drill slowly to manage the dirt that you may cause after.
Step #2: SET YOUR FILTER BASKET
To grate and cover the floor grains, you need a filter basket. You might need to cut the filter basket in diameter to fit inside the pipe for some reason. And to cut it, a coping saw is required. It is challenging to do. That is why feel free to do it twice or thrice until you get the perfect cut that can satisfy you.
Step #3. CONNECT VALVES AND HOSE
It is necessary to stop the water flow when you need to change the filter media. As for that, you will be using the valves. First, attach the Teflon tape on the threaded ¾ inch to ½ inch tube connector and thread it to each valve. After that, connect the hoses to the pump and the valves.
With the use of a female garden hose connector, attach the filter. Use the channel lock plier to pinch the connector down into the hose when you might need to slide the hose. And to stop the hose from sinking, attach a 90-degree corner to the bottom.
Step #4: USE FILTER MEDIA
The poly sponge was the filter media in this project. It is placed in the cleaning section of the hardware department. Commonly, most people use this to clean cars and houses because it is resistant to solvents. Besides, unlike dishwashing sponges, poly sponges don’t have large holes.
To use it in the canister filter project:
- Place it on the filter basket.
- On the other hand, place the activated carbon on the second basket.
- Fill them up using plenty of activated carbon.
Step #5. INSTALL ALL TOGETHER
Before anything else, clean and wash everything to remove all the dirt left when working on them. Then, at the bottom of the pipe, put the rubber plug and tighten the hose clamp. In the outlet valve, attach that tube. First, drop your bio balls inside the PVC, then the carbon sock, and at the end, the sponge.
On the top, tighten the plug. You install all of the parts perfectly when there is no leakage going on. If it does, make sure to check all the pipes, tubes, corners, and covers of your Homemade Aquarium Canister Filter.
Conclusion
We hope that this information can offer you great help to install your Homemade Aquarium Canister Filter properly. Each step is essential to make things work right. Following them is the key to achieving the excellent function of this filter. Also, providing the materials listed above is necessary to make this project possible.
We Thank you for your time. We also appreciate your effort in reading this article. Have a nice day!
