
If your interior painting on your walls and ceilings looks old and tired, doing a complete home renovation by applying a fresh coat of paint can make your home look brand new. You’ll have to keep in mind several factors before your home is finished and painted. Painting your house interior involves a process that may take time, depending on different factors. For more satisfying results, it would be better to look for the best quality interior house painting in Connecticut.
This article will show you exactly how to paint your house interior, from preparation to the finishing touches.
Prep your home
Before you begin painting, you need to make sure that the walls are free from grease, dust, and other debris. Your walls will need to be washed thoroughly with a cleaner and then rinsed with water to remove all dirt and grime. It would help if you also filled in any cracks or holes that appear on your walls or ceilings before you begin to paint.
Remove fixtures
The next step is to remove all fixtures from the walls you’re painting. This includes light switch covers, smoke detectors, and outlet plates. While you have these items removed, you should take down any pictures or artwork hanging on the wall. The fewer obstacles in your way while painting, the easier it will be to get the job done right without missing spots.
Set Up Your Equipment
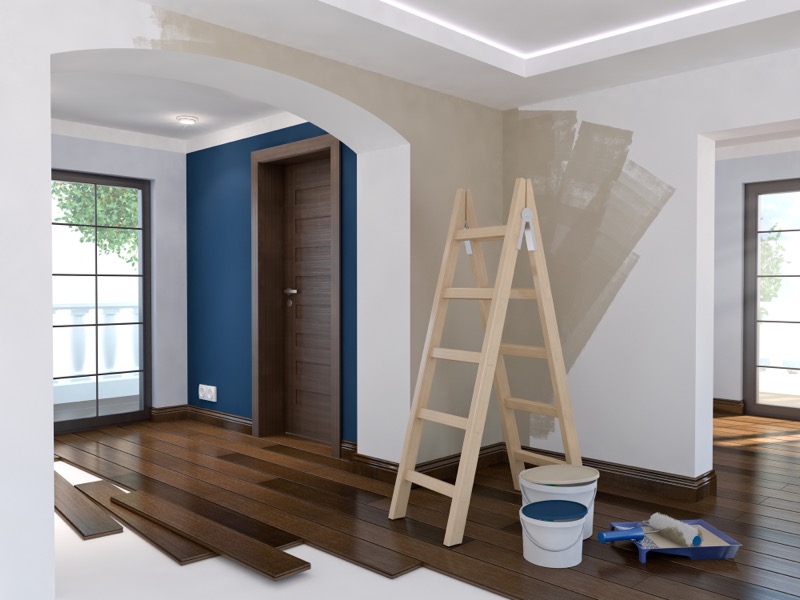
Before you even open a paint can, you need to set up your workspace. If you plan on painting the walls, ceiling, and trim in your room, you will want to set up a drop cloth on the floor to prevent paint spills and roll-offs from ruining your flooring. You’ll also want a ladder and extension handle to reach high areas. Cover all of your furniture with plastic sheets or drop cloths, removing or covering electrical outlets, light switch plates, and fixtures. Tape around windows and doors so that you don’t get any paint where it shouldn’t be. Before you get started with the painting, you’ll need to ensure that all of your supplies are ready to go. Gather your equipment that should include the following:
- Your chosen paint and primer
- Paintbrushes and rollers
- Paint trays
- Paint tray liners
- Drop cloths
- Painter’s tape
- Fill holes
Fix Imperfections
Now that everything is covered and protected, it’s time to fix any imperfections in the wall before painting begins. Fill holes with putty using a putty knife to smooth it out. Take sandpaper or a sanding block and lightly sand rough spots until they are smooth to the touch. If there are any cracks in the drywall, use a joint drywall compound and a putty knife to fill them in. Wipe down the walls with damp cloths to remove dust
Clean Walls
Paint adheres best to clean walls with no dust or damage. Wipe all of your walls down with a damp cloth to remove any surface debris. Paint won’t adhere well to dirty walls, so make sure they are clean. If any repairs need to be made, now is the time to do them. Patch all holes with spackling compound and sand the areas smooth after they dry. If you have cracks in the walls, fill them with joint compounds and sand them smooth. Use painter’s tape around the trim and over door hinges to protect these areas from paint splatters while also providing a clean edge for painting.
Prime the wall’s seals porous surfaces that give the paint something to adhere to besides drywall or plaster. Choose a water-based primer for most applications, but use oil-based primer on glossy surfaces like wall tiles, plastic or metal doors, and cabinets. Apply the primer using a paintbrush for corners and edges. Apply the rest of the primer using a roller cover on an extension pole.
Apply Primer
While many people are hesitant to apply primer, it’s the number one step in any painting project.
Primers are designed to seal and protect wood surfaces from moisture, dust, and stains. It also serves as a perfect canvas for paint.
Paint With a Roller
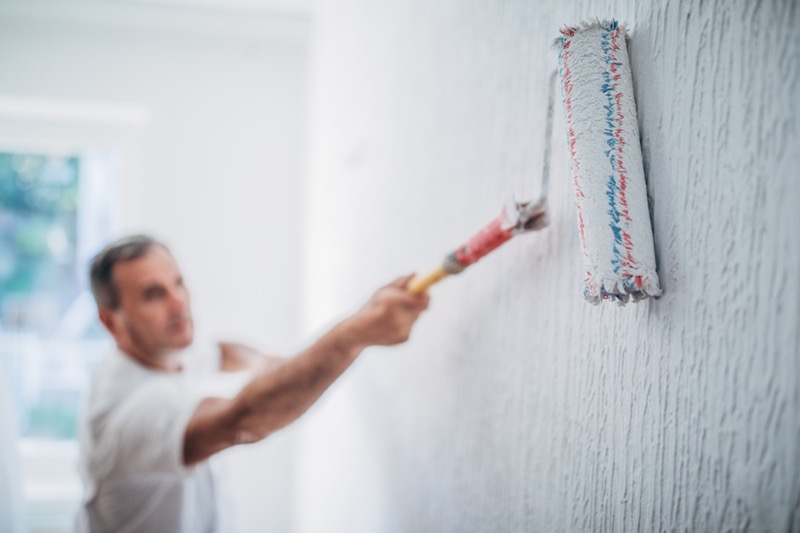
Use a roller to cover the entire surface of your room, including the trim and crown moulding. Paint the ceiling first, following these steps:
- Roll upward on the ceiling until you can see the trim
- Roll downward on the ceiling until you can see the wall
- Repeat steps 1 and 2 until you’ve painted the whole house
- After completing step 3, go back over all trim and crown moulding with a roller
Paint With a Brush
When you’re ready to apply colour over all or part of the wall area, start by filling in any small cracks or holes with paint for patching surfaces like wood panelling and plaster walls.
Clean Your Tools
Dump any excess paint into the bucket. Rinse your paint tray and roller with warm water before it dries out completely. Wash your brushes in hot soapy water until the bristles are free from paint. Allow all of your tools to air dry completely before putting them away.
Wrapping Up
Paint can be the perfect final touch to any complete home renovation. Whether you’re looking to create the ambiance of the beach, brighten up a child’s bedroom, or repaint the walls, paint is an affordable and effective way to liven up your home.


