

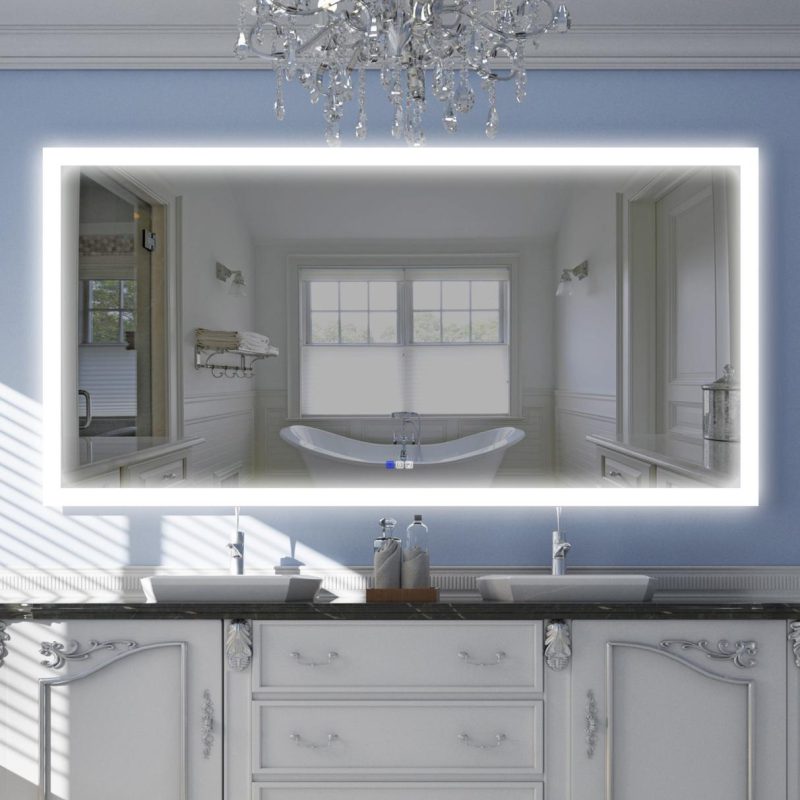
A large bathroom mirror needs a suitable mounting arrangement before it needs a final styling decision. Identify the exact product, weight and wall construction, then check the manufacturer’s fixing instructions.
Measure for use and appearance
Record the available wall area, vanity position, taps, lights, door swings and any obstruction. A mirror narrower than the vanity is one styling approach, not a universal installation requirement. Check the actual clearances and layout before ordering.
Use a paper outline or the product template to compare the intended size and position. Confirm the mirror remains useful for the people using the room and does not interfere with adjacent fittings.
Match the mounting system to the wall
Check whether the design uses brackets, clips, a frame or another supported mounting method. The wall, fixings and attachment points must be suitable for the loaded product. Arrange qualified help if the substrate, concealed services or load capacity is uncertain.
Do not assume any silicone is suitable
Use an adhesive only where the mirror manufacturer’s instructions permit it and identify a compatible product for the backing and wall surface. Some mirrors require a particular mechanical support arrangement. Generic silicone around the edges is not a substitute for the specified system.
Include any required curing time, temporary support and environmental conditions in the installation plan. Do not improvise an adhesive method simply because it looks neater than visible clips.
Plan lifting and electrical work
Arrange enough suitable assistance to handle the size and weight without striking the glass. Protect nearby finishes and follow the product’s handling instructions. For a Wellfor lighted mirror or another electrical model, use the matching manual and a qualified installer for connection work as required locally.
Check the completed installation
Confirm that the prescribed fixings, alignment and clearances have been addressed and retain the care instructions. Stop using a mirror that is loose or damaged. Cleaning instructions should also match any coating and electrical components, rather than relying on a universal glass-cleaning recipe.
Illustrations