
A tiny kitchen needs somewhere to prepare food, use appliances and put things away before it needs another decorative object. These 20 ideas help you compare storage, eating surfaces and finishes against the tasks your kitchen must support. Start with a measured plan and the openings of the actual appliances; a pale colour cannot create missing floor space.
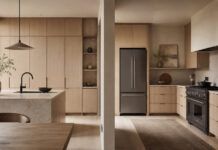
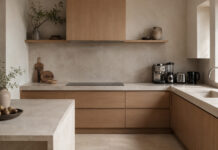
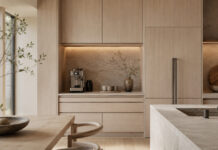
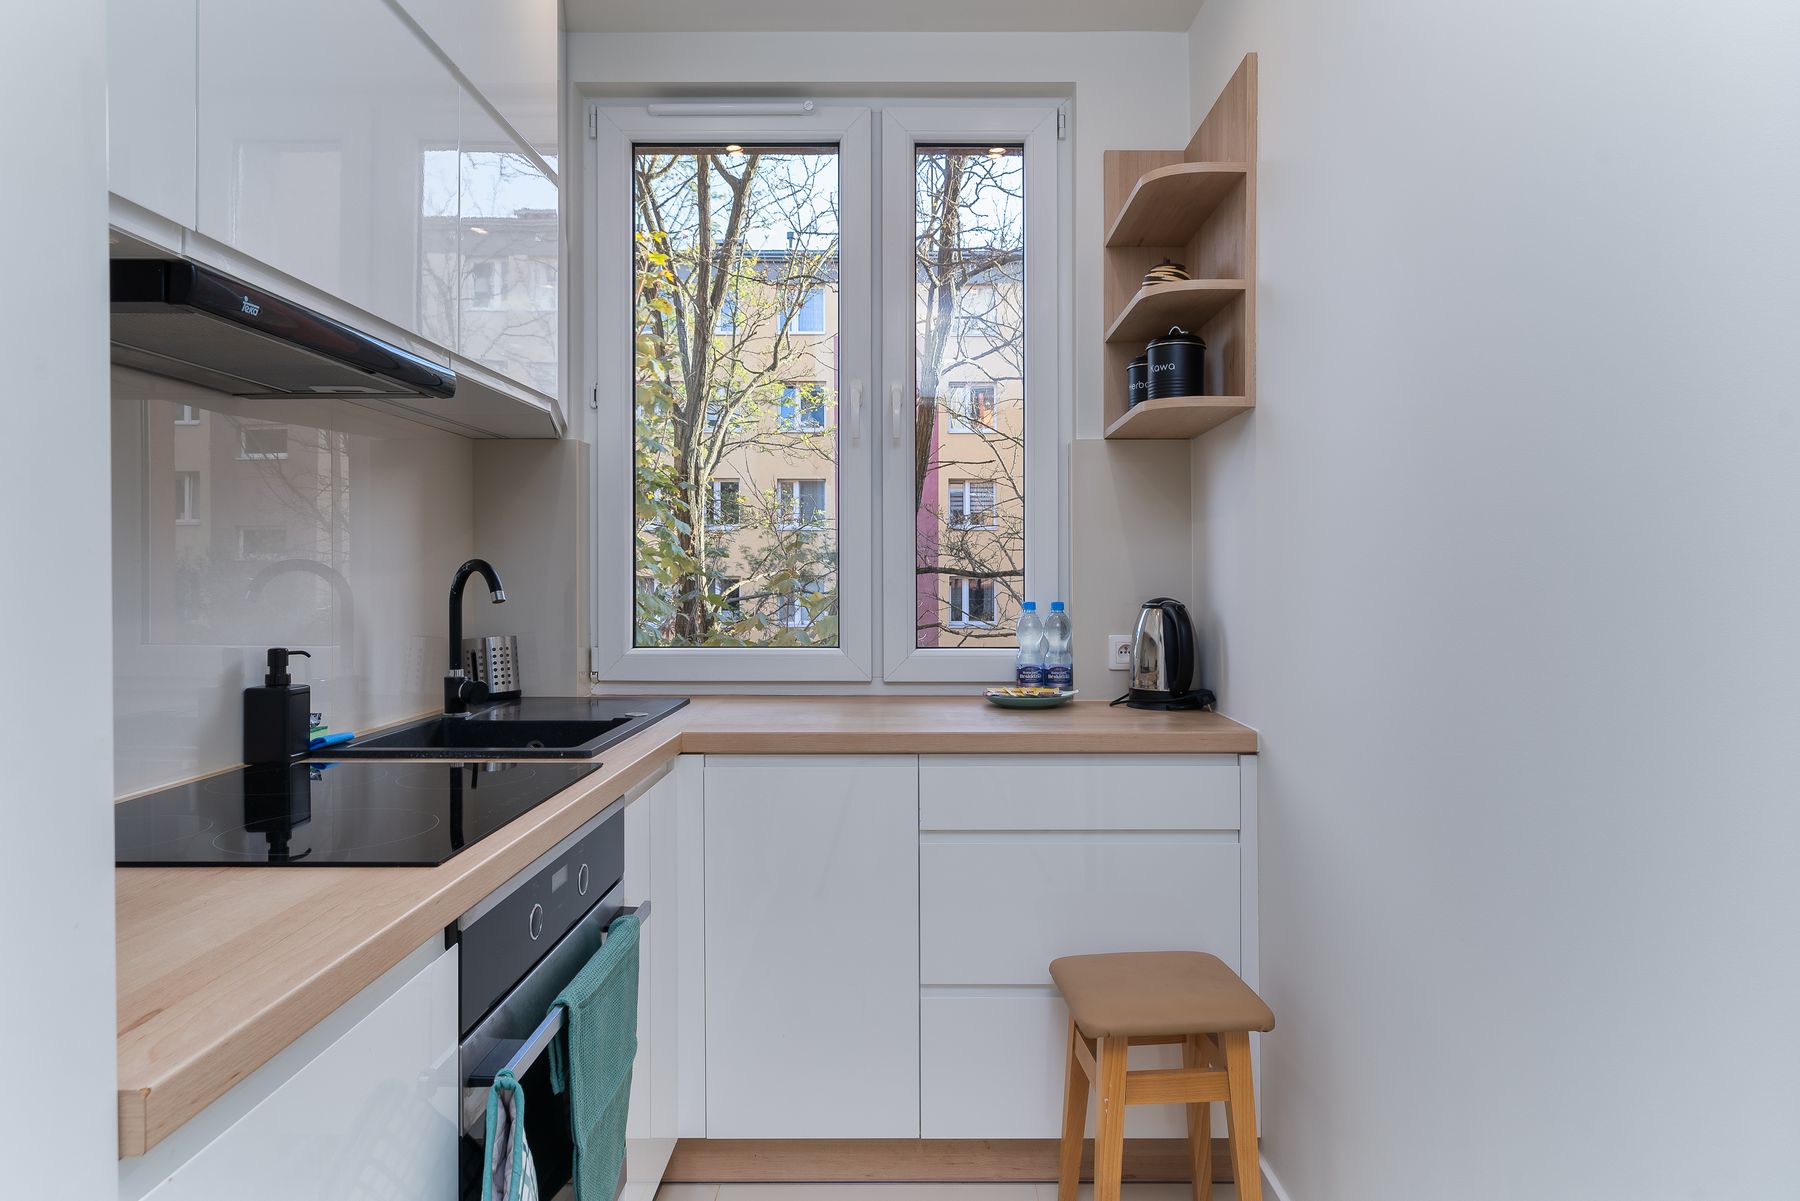
The four photographs are illustrations from different homes, rather than a single measured kitchen. In the featured image by Mateusz Pielech / Pexels, white cabinets and a timber worktop turn around a window. Use it to compare finishes and the relationship of surfaces, without assuming its dimensions match your room.
Give each part of the plan a job
1. Keep one strong accent
Choose an accent that already has a useful role: an appliance you use, a cabinet colour or a section of wall. Compare it with the larger fixed finishes before adding matching accessories. Keep the food-preparation surface available; a coordinated collection of objects can consume the space you intended to improve.
2. Use cabinet height deliberately
List what needs storing and how often you reach for it before adding another row of cupboards. Put everyday items within comfortable reach and reserve higher shelves for lighter, occasional items. Check ceiling details, ventilation requirements and the intended fixing system with the installer; the appearance of a tall cabinet is only one part of the decision.
3. Give a small corner a simple role
Decide whether the corner will support preparation, eating or storage. Put the tools for that activity nearby, then check access to adjacent cupboards. A corner filled with appliances can leave no landing space for a hot dish or ingredients. Our small-kitchen planning ideas offer other ways to compare the use of limited surfaces.
4. Test an eating ledge with someone using it
Mark the proposed ledge and seat on the floor, then test the passage with a person seated. Include knees, the pulled-out chair and access to any nearby cupboard. Ask the supplier how the ledge is supported and what loads it is intended to take; a narrow top is not automatically a practical dining place.
5. Connect the kitchen with an existing dining spot
If there is a table in the next room, check whether it already serves the meals you were planning to accommodate inside the kitchen. A clear route between the two may be more useful than another row of stools. Our open-plan zoning guide explores furniture relationships; removing a wall requires a separate assessment of structure and services.
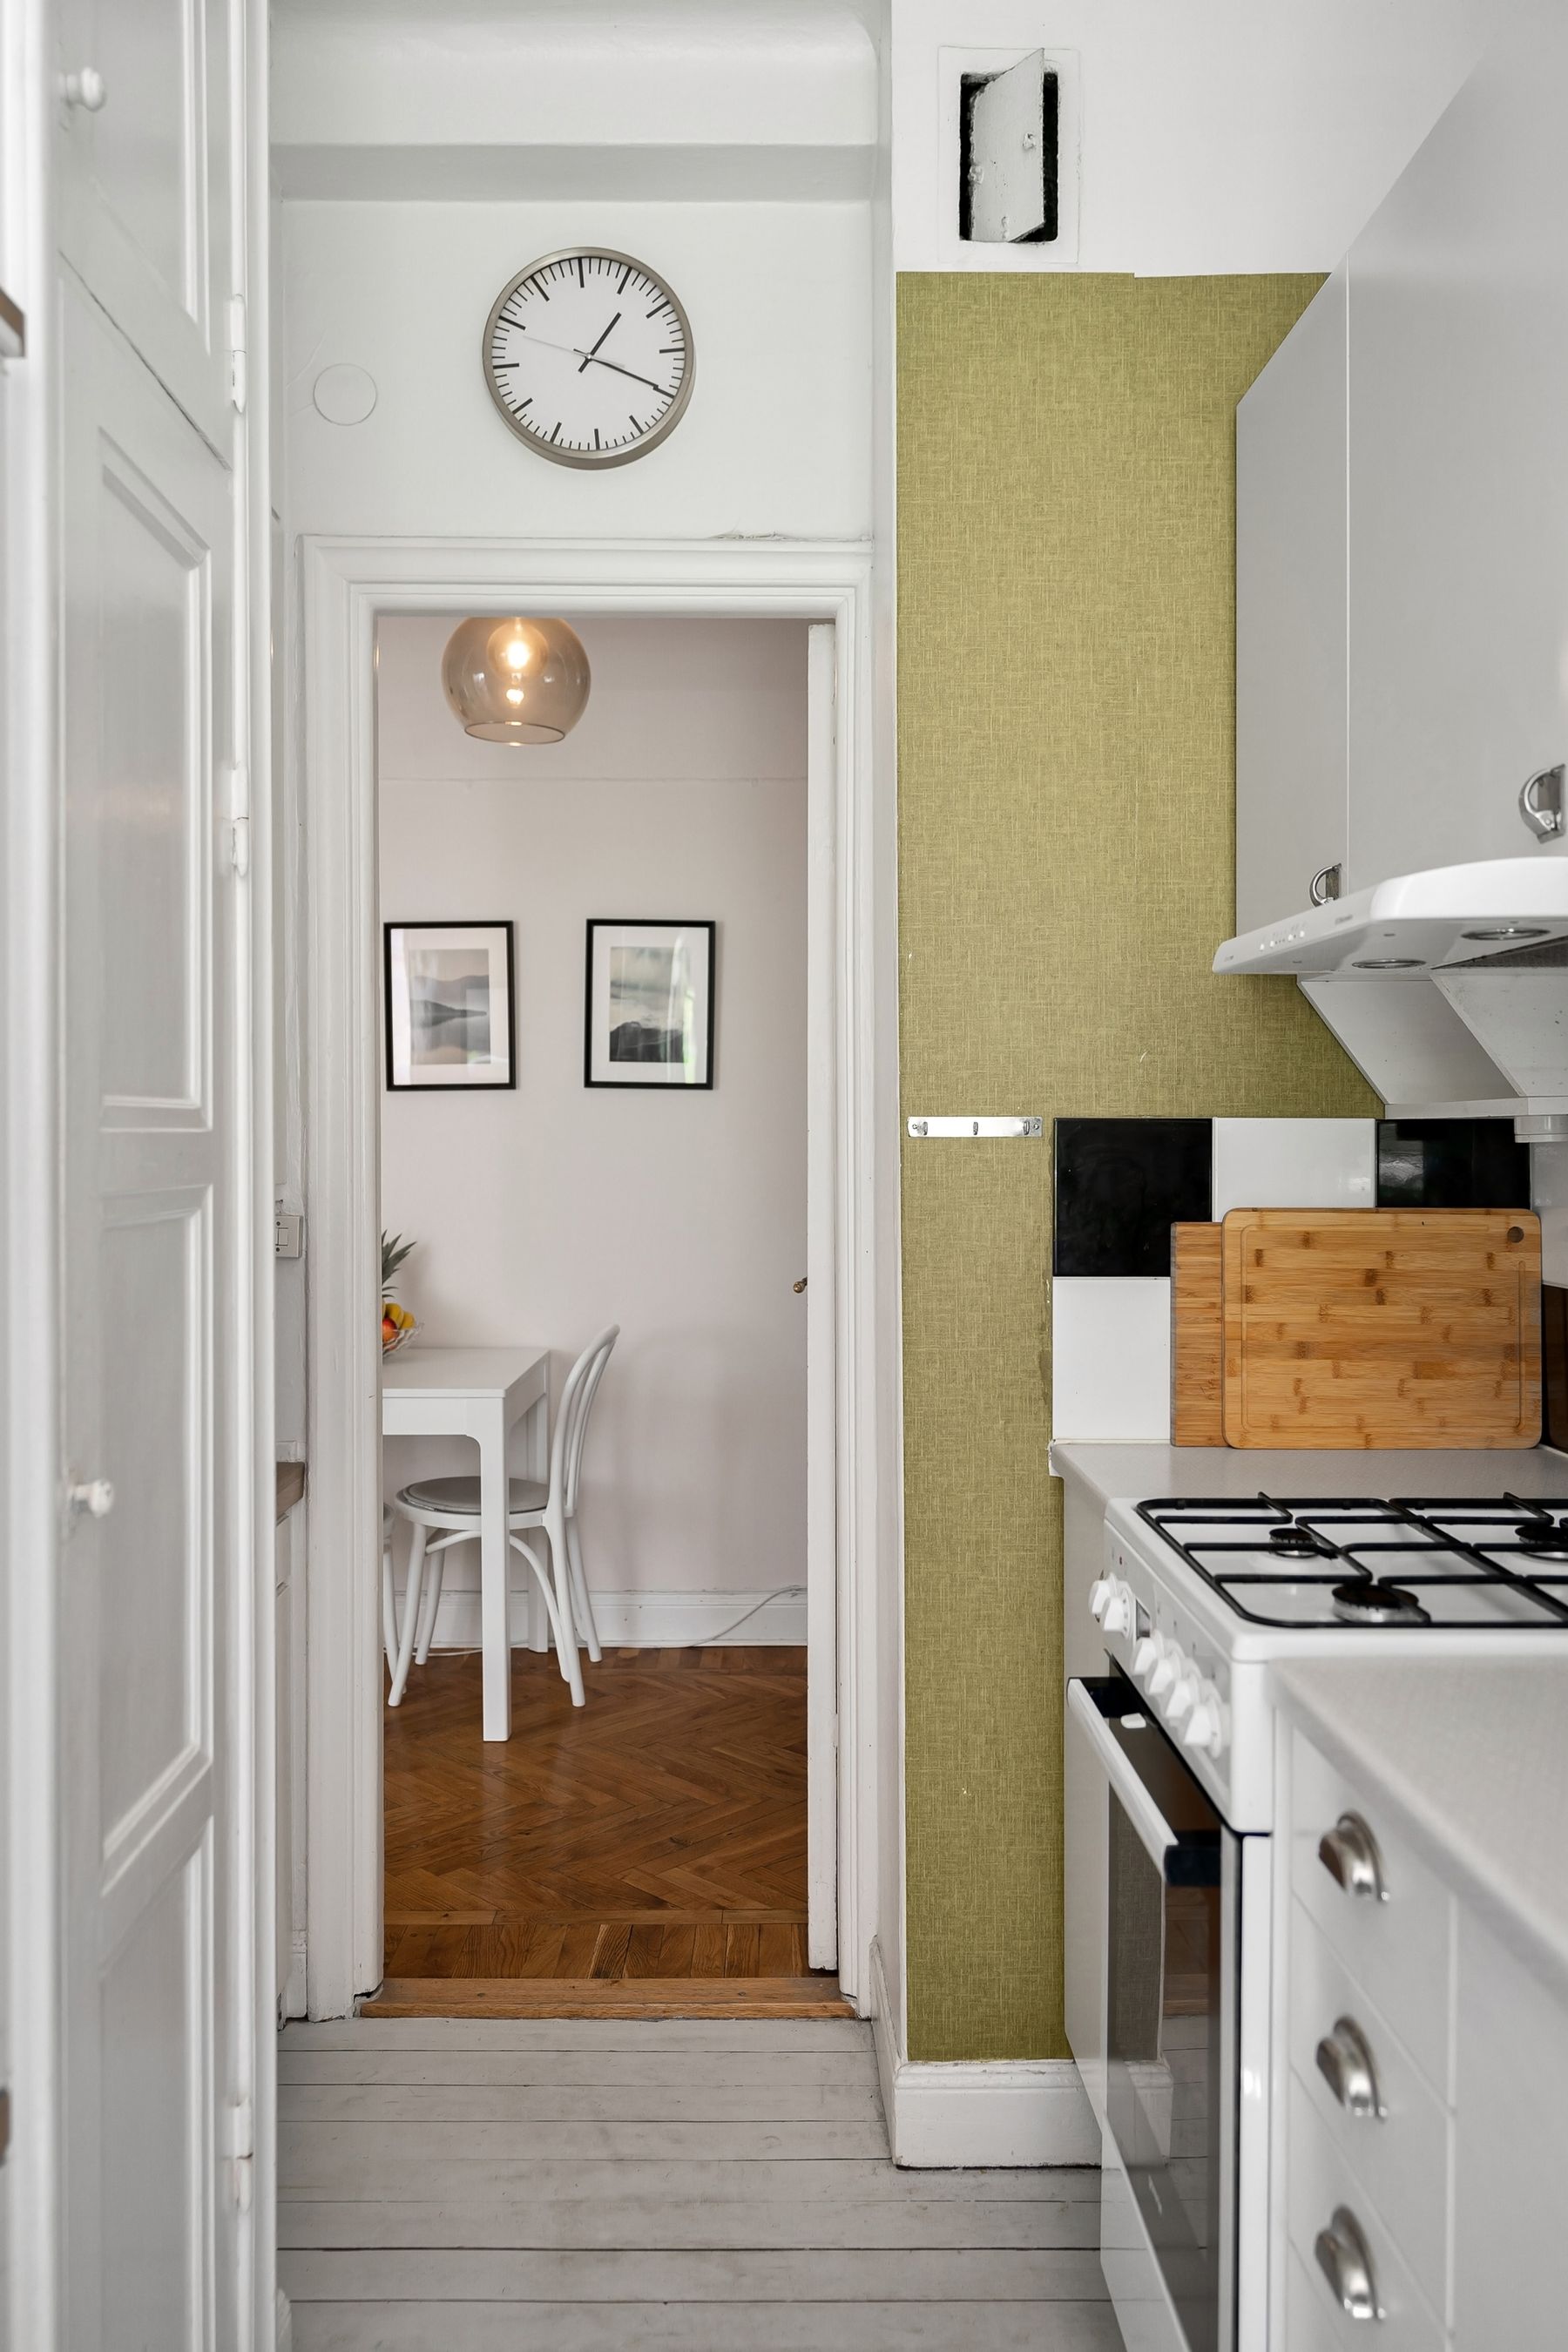
Keep work surfaces and storage usable
6. Place plants where they leave room for preparation
Choose a plant for the window’s actual light and your care routine, then give its pot a stable place away from heat and food preparation. Check that watering will not damage nearby surfaces. Leave the window, its handle and any opening mechanism accessible rather than filling every ledge.
7. Use dark details to define a working area
A dark handle, appliance or tap can provide contrast without adding a new object to the counter. Compare finishes together in the room’s light. If you want a runner, check the actual product’s suitability, secure positioning and cleaning needs; do not place a loose textile in a busy route just to repeat a colour.
8. Coordinate cabinet colour with the backsplash
Look at physical samples of the door front, backsplash and worktop together. Decide which will carry the strongest colour or pattern, then let the other finishes support it. Inspect the samples under the lighting you will use for cooking; an attractive screen image does not show how a surface will look beside your existing floor.
9. Treat overhead storage as an installation choice
A suspended rack or wall shelf adds storage only if its contents can be reached and its fixings suit the supporting structure. Check the system’s stated load, clearances and installation requirements. Keep it out of the route and away from heat where required. The U.S. Fire Administration’s cooking guidance says to keep items that can catch fire away from the stovetop; decorative boards, towels and packaging need a different home.
10. Let a patterned finish do one job
Use the strongest pattern on a defined surface, such as the backsplash, rather than making every finish compete. Ask for the actual material’s care and heat limitations, plus a sample of its finished edge where relevant. Worktop joints and backsplash details need to be practical to clean, as well as attractive from across the room.
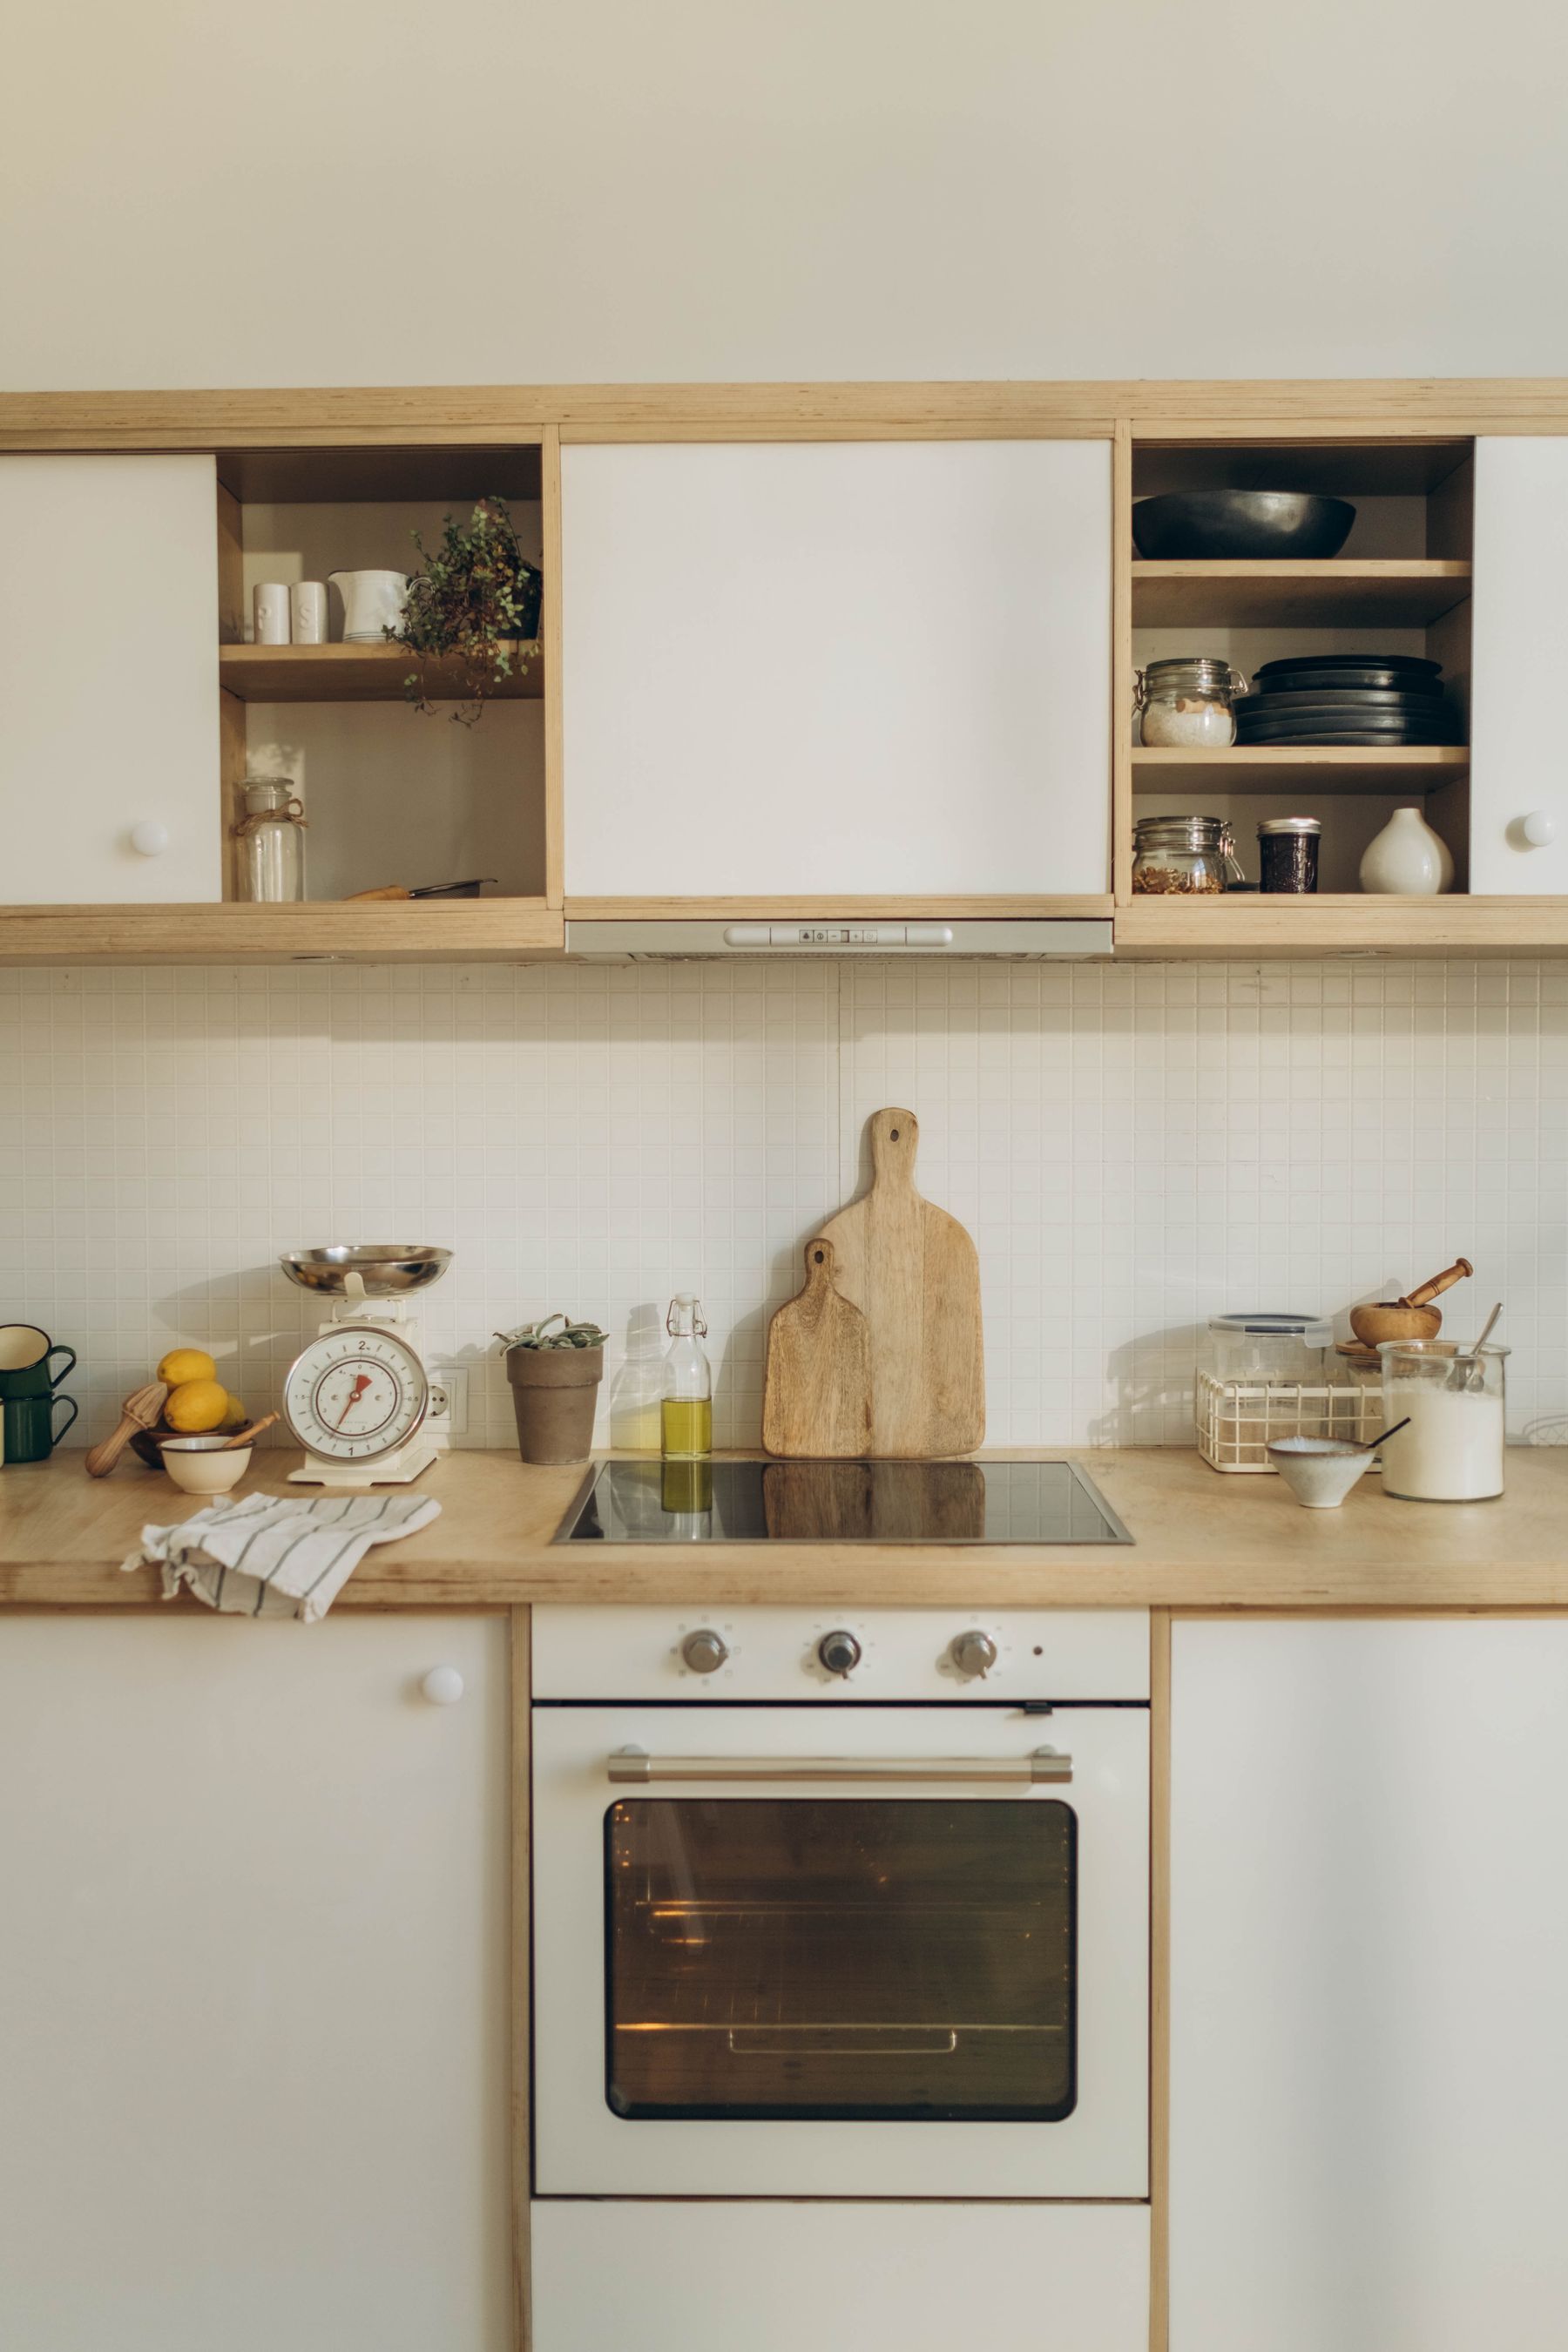
Compare display, seats and extra surfaces
11. Separate display from routine storage
Put frequently used crockery where it can be retrieved and returned easily. Reserve a small visible area for objects you are willing to dust and move. Open display near cooking can collect grease, so compare the cleaning involved with a closed cupboard before removing doors to imitate a photograph.
12. Fit seating to its actual use
Decide whether a seat is for a quick drink, a full meal or a longer period of work. Try the intended chair or stool with the proposed surface height, including legroom and a comfortable way to get in and out. Leave enough usable route behind the occupied seat instead of counting how many stools fit under an empty counter.
13. Make a central work surface earn its space
Identify the task that cannot be done on the existing counters before adding an island or cart. Then draw its footprint with drawers, oven doors and the dishwasher open in turn. A movable cart also needs a parking place where it will not block the route. If those tests fail, improving an existing work surface may be the better choice.
14. Limit a bold wall pattern to a clear area
A feature wall can provide colour while the cabinets stay simple. Check the proposed product’s suitability for splashes, heat and cleaning in that location. Keep patterns behind or beside the working arrangement rather than using decorative panels to cover ventilation openings or access points.
15. Keep the long route clear
In a galley, test movement with the actual door swings and the way people pass through the room. Avoid placing a bin, plant stand or extra chair in the route simply because it fits against the wall. Plan work lighting as well as general illumination: Your Home’s lighting guide explains the different purposes of room and task lighting, including avoiding glare and shadows on work surfaces.
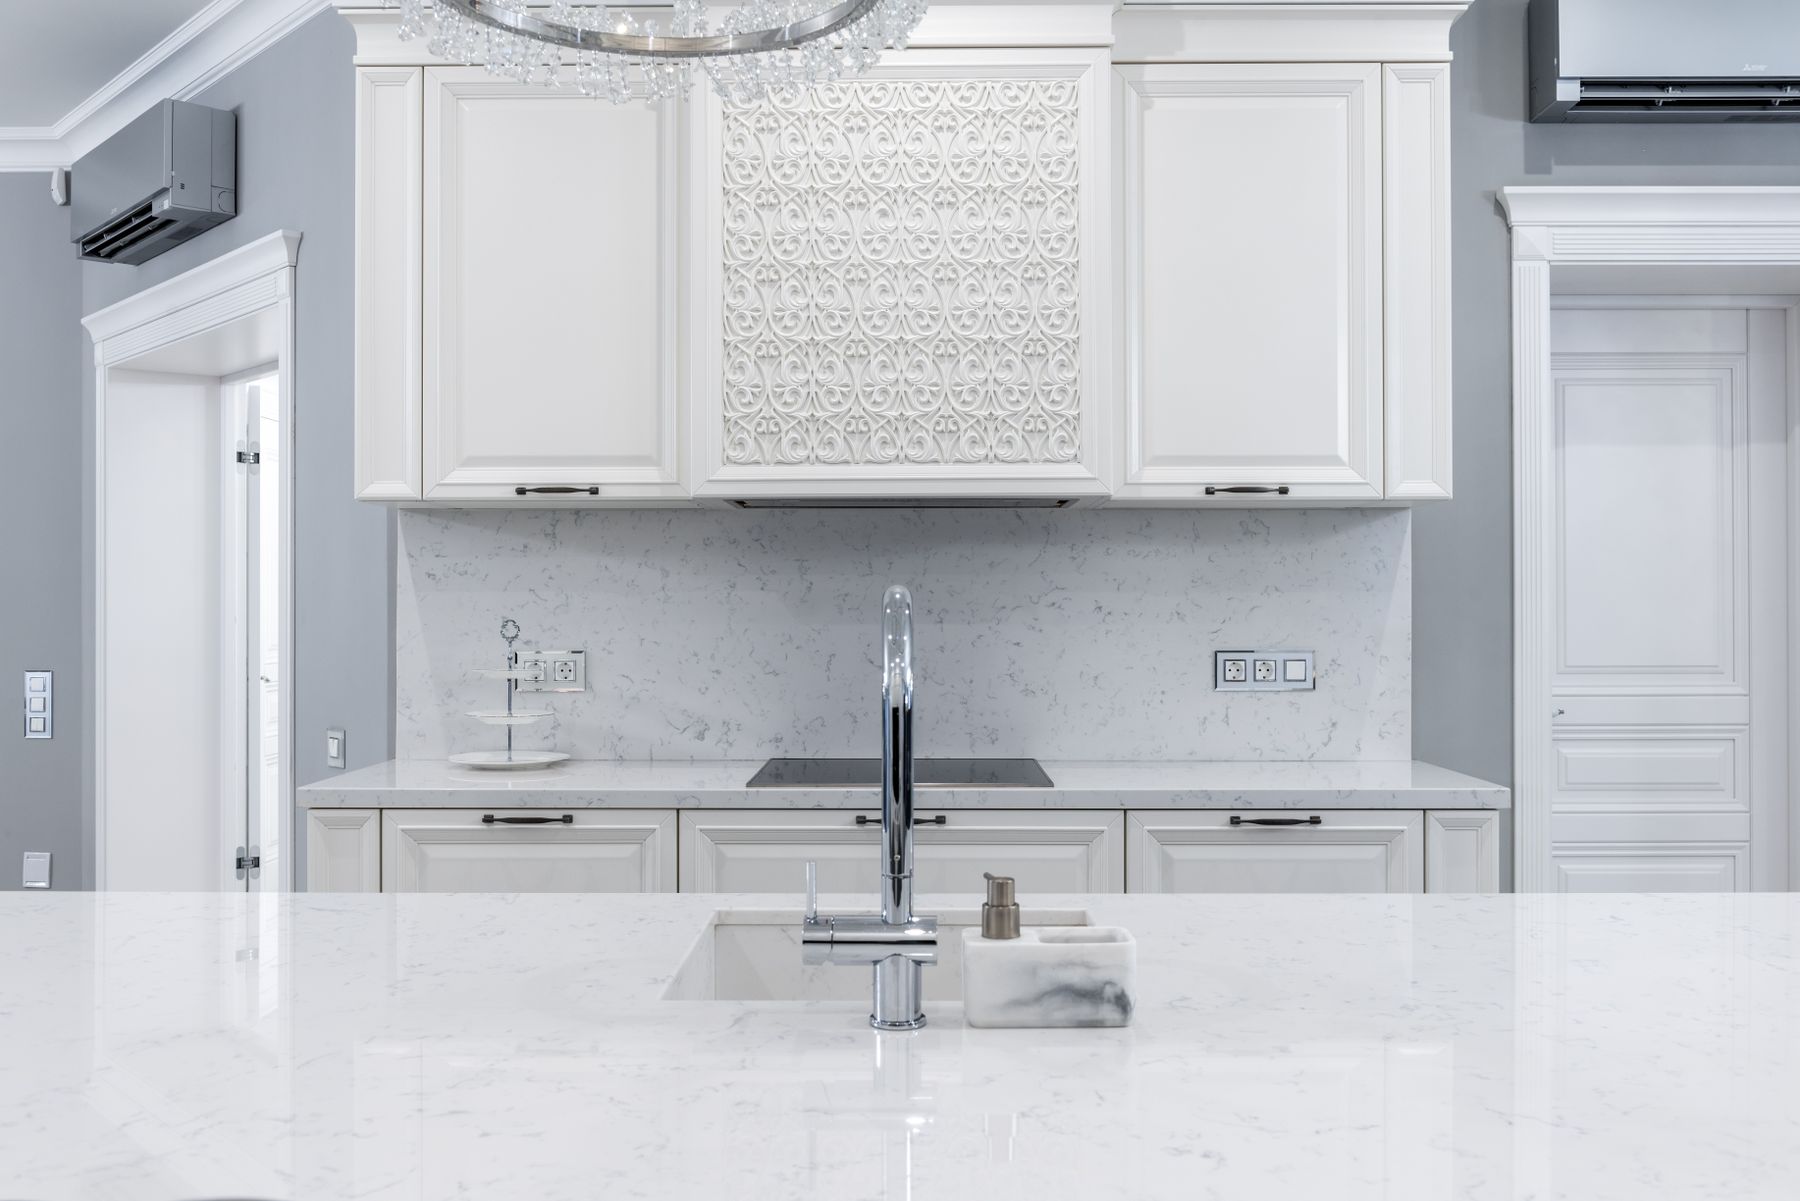
Resolve windows, furniture and finishes together
16. Keep a window-side surface compatible with the window
Check the window’s opening direction, coverings and handle before putting a ledge or stool beside it. Include access for cleaning and ventilation. A table-height surface and a worktop-height surface serve different uses, so test the proposed arrangement with the intended seat rather than choosing the height from an image.
17. Compare a peninsula with a separate table
A peninsula can connect to existing cabinets, while a table can sometimes be moved or used from more sides. Draw both options with occupied seats and the same appliances. Compare the remaining route, support, storage and cleaning access. Neither arrangement is a space-saving solution unless it works in the measured plan.
18. Make cabinet detailing part of a restrained palette
A framed door can add detail while the overall colour scheme stays quiet. Compare how the profile, handle and hinges affect opening, wiping down and access at corners. Inspect a sample alongside the worktop and existing floor. Replacing a front style alone will not solve an awkward cupboard interior.
19. Decide what belongs on open lower shelves
Use open lower storage for items that can tolerate its cleaning demands and be lifted comfortably from that position. Avoid turning the lowest shelf into a collection of awkward, rarely used appliances. Check the depth of each item, the stability of the shelf and whether the arrangement leaves access to plumbing or other services.
20. Balance warm cabinetry with a quieter backsplash
If timber or a warm-coloured lower cabinet is the feature, try a simpler backsplash before adding another strong pattern. Check how the actual surfaces respond to water, grease and routine cleaning. Our small-kitchen decorating guide offers further comparisons; keep the decisions that support your daily routine rather than adding every idea to one room.
Check the plan before ordering
Record the room dimensions, services, fixed openings and appliance models, then test the busiest sequence: taking food out, washing, preparing, cooking and clearing away. Note what lacks a surface or storage place. Resolve those gaps first, and check structural, electrical, gas and fixing work with the appropriate qualified installer before ordering a new layout.
Photographs are illustrative and used under the Pexels License. Creator credits link to the individual source photographs.